I often see happiness tree topiaries for sale—made of artificial flowers, ribbons, and even candy or Christmas ornaments. But I’ve only seen live topiaries in pictures on foreign blogs… I decided to dive deeper into this topic and found an excellent tutorial on how to create an ivy topiary. Minimal expenses, numerous design options, and a stunning decoration for any windowsill.
 Ivy Topiary
Materials for the Topiary
- A sturdy pot, preferably clay;
- an ivy bush with several shoots;
- wire, pliers;
- drainage, soil, and moss for decoration.
How to Make an Ivy Topiary
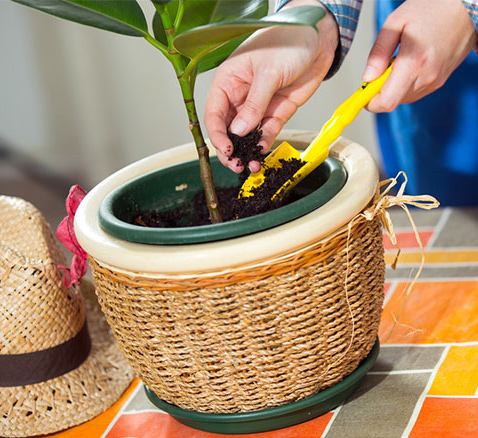
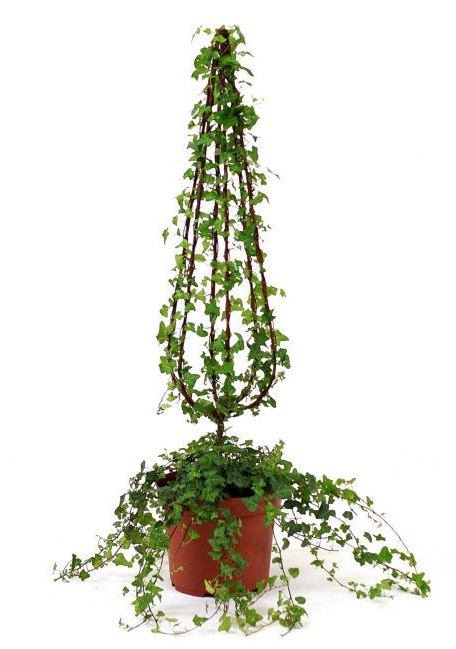
- Create a wire frame for the ivy to climb on. For instance, one like the photo below. Such frames are also available for purchase.
- Place the frame in the pot, fill it with a layer of drainage and soil. Ensure the structure is stable.
- Transplant the ivy into the pot with the frame.
- The frame can be wrapped with jute, hemp, or wood bark for decoration. This coating adds volume to the structure and gives the plant something to cling to. Wrap the frame with the ivy shoots a few times.
- Wind the ivy around the frame clockwise and counterclockwise, creating a crisscrossed effect.
- Water the ivy and, as the shoots grow, guide them in the desired direction. Below are step-by-step photos of the topiary creation process:
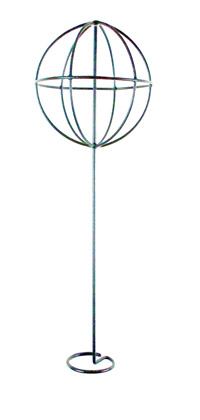 Frame for Shaping a Topiary
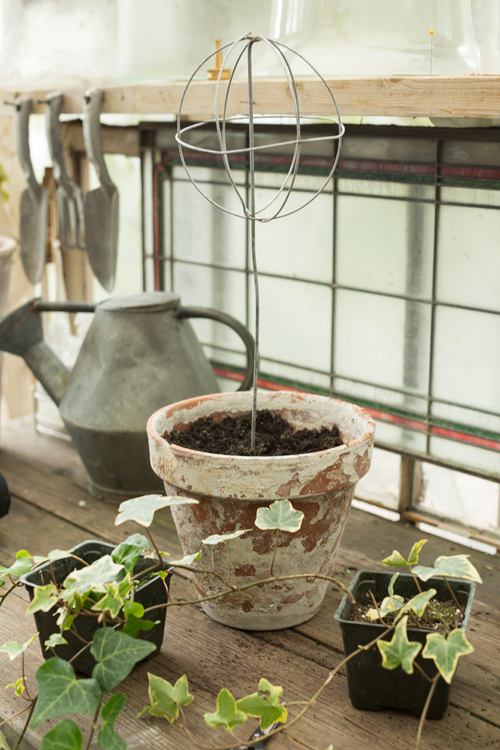 Materials for Making a Living Topiary
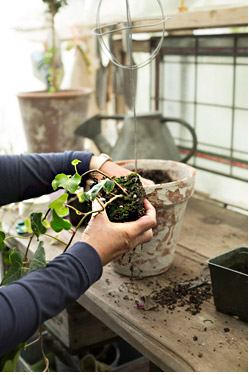 Ivy Transplanting
 Ivy Transplanting
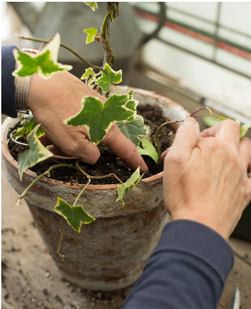 Ivy Transplanting
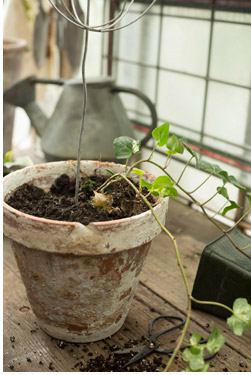 Ivy in the Pot with the Frame
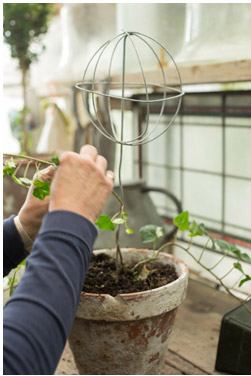 Shaping the Topiary Trunk
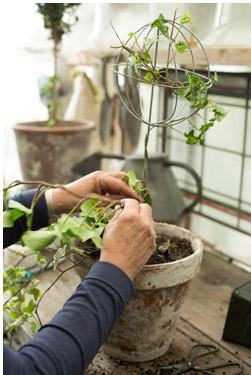 Creating the Topiary
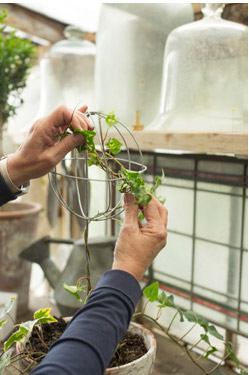 Shaping the Topiary Crown
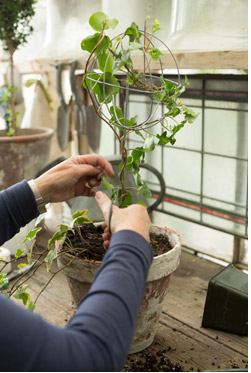 Shaping the Topiary Crown
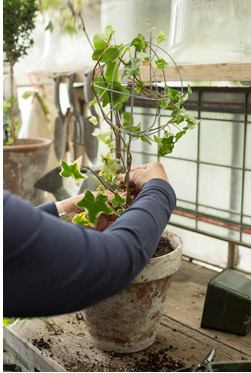 Shaping the Topiary Crown
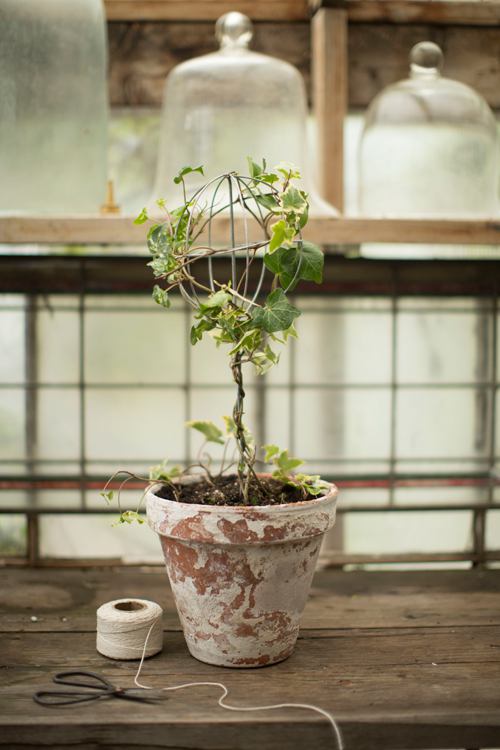 Finished Topiary
Caring for the Topiary
Ivy (hedera) requires loose, breathable soil with added vermiculite or perlite , or fine sand. Drainage is essential. The pot can be small, as ivy has a small root system. Transplanting ivy with the frame is even easier than without it, and transplants should not be done more than once a year while the plant is young. After 3-4 years, transplanting is necessary only when the soil becomes depleted. Watering should be moderate, but ivy loves misting. Avoid direct sunlight.
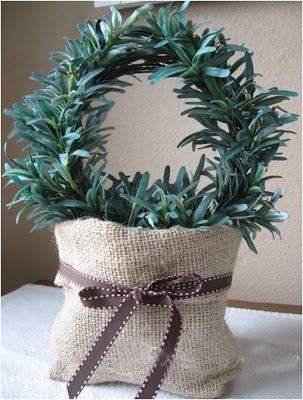
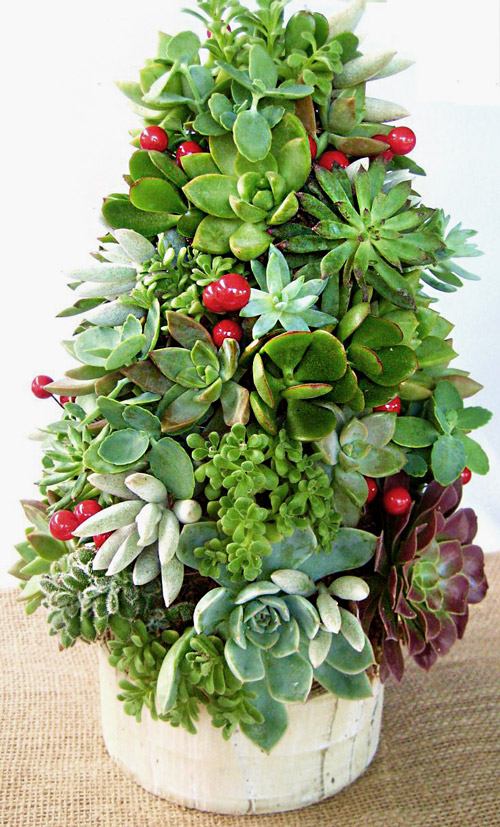
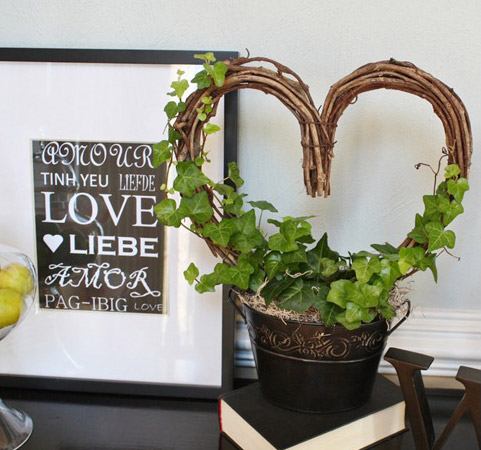
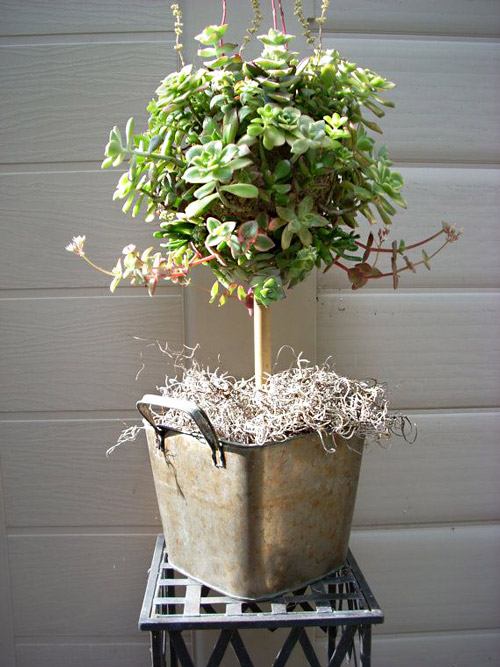
Below are some ideas for inspiration:
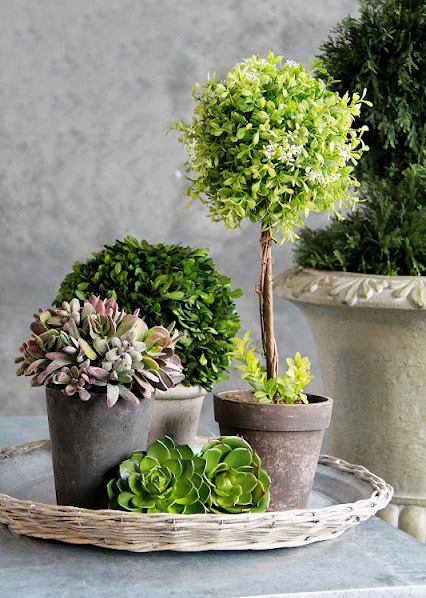
A concept similar in spirit to a topiary is a bonsai made from houseplants. An interesting idea is creating a rosemary bonsai .