Today, I will tell you how to grow tomatoes on your windowsill. If someone had told me three years ago that I would be growing tomatoes on a windowsill… But there’s a simple explanation for this – once you grow one unusual herb, you’re hooked… After successfully growing oregano, thyme, lavender, tarragon, chives, lemon balm, and watercress, it seems the time has come for the big guns :).
Armed with recommendations from my grandfather – an experienced gardener – I decided to take the plunge. I have: a large, bright southeast-facing balcony, cherry tomato seeds (advertised as balcony varieties), questionable-quality soil, and two 2L pots (which might be too small).
How to Grow Tomatoes on the Windowsill
Here’s my step-by-step guide on growing tomatoes on a windowsill, complete with pictures. So far, so good!
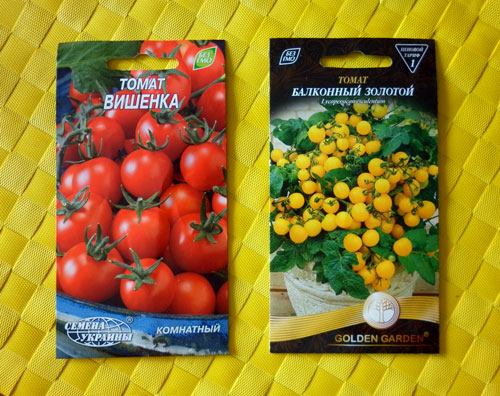
1. Balcony tomato seeds participating in the experiment.
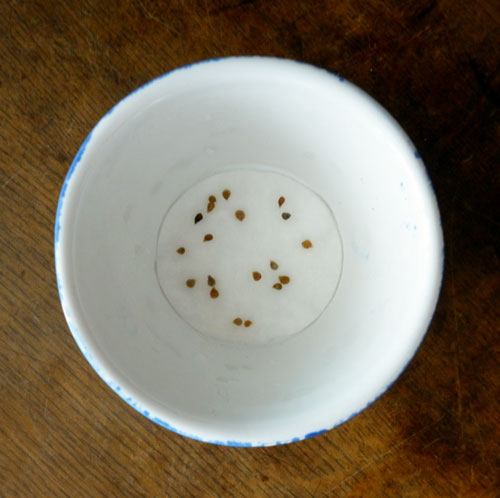
2. Golden Balcony seeds. I took a cotton pad moistened with warm water, sprinkled a dozen seeds on it, and sprayed them with more water using a spray bottle.
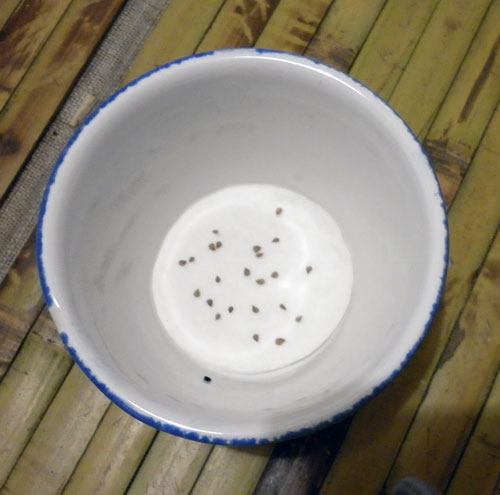
3. Cherry Tomato seeds. The same process as with the Golden Balcony seeds.
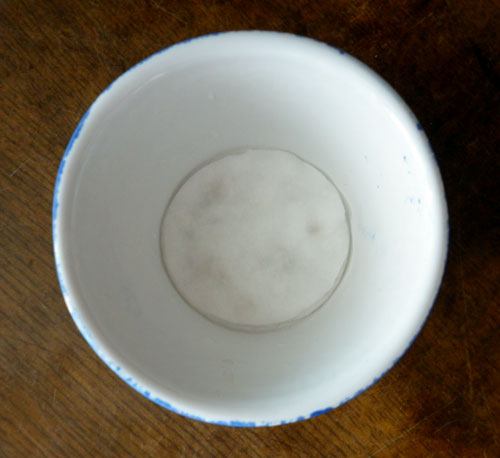
4. I moistened another cotton pad and covered the seeds with it. The moist environment allows the seeds to “wake up” and swell slightly. One day is enough, but I left mine for two days. I didn’t add more moisture. I also didn’t treat them with potassium permanganate since it’s impossible to find in pharmacies.
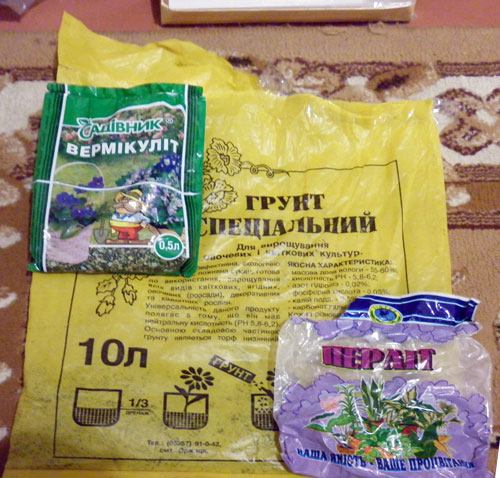
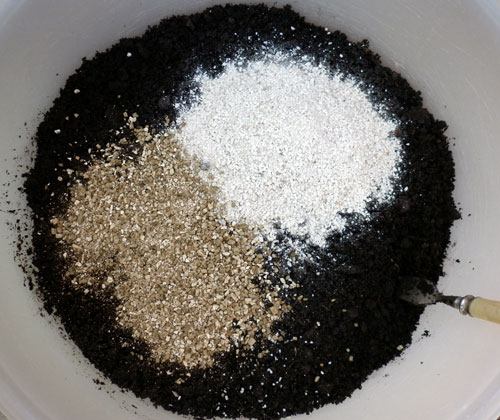
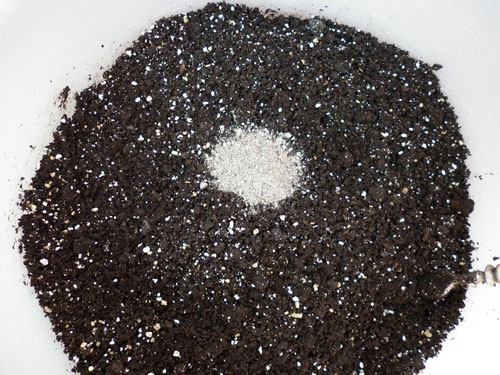
5. Components for the soil mix: prepared soil based on peat and humus, perlite and vermiculite . I pre-baked the soil in an old pot in the oven – for about 2 hours. Instructions on soil sterilization can be found here .
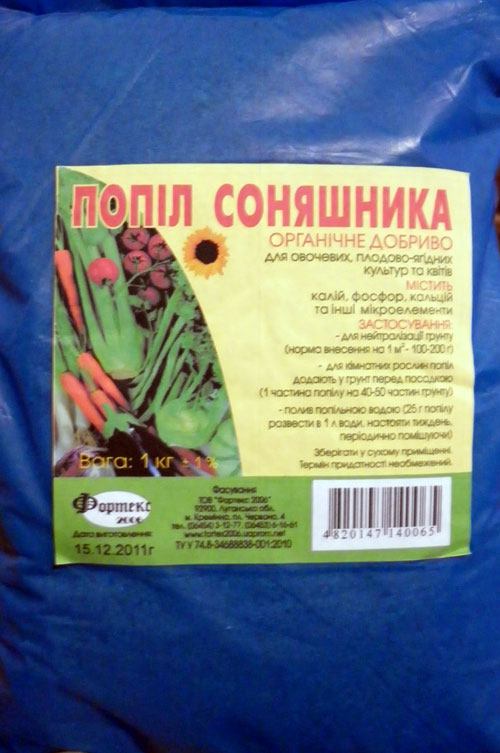
6. Ash for the first potassium fertilizer and additional soil sanitation.
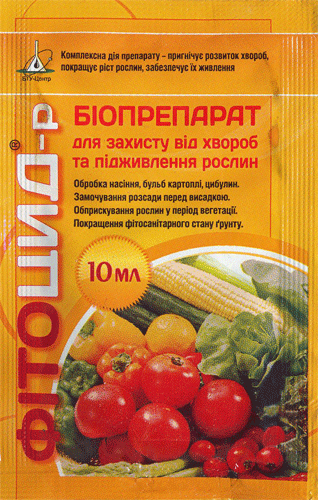
7. PhytoCide restores the necessary bacteria to sterile soil, without which plants can’t absorb nutrients. I prepared a solution according to the instructions and moistened the soil (lightly – do not overwater and turn the soil into mud). I used the remaining solution to water all the plants in the house – most likely, the bacteria in the water die quickly, so it’s not considered proper fertilization.
8. I always add perlite and vermiculite to the soil – no more than 30% of the total soil volume. Vermiculite is a mineral treated with extreme heat, making it porous. The pores in vermiculite are filled with oxygen, absorb a lot of water, and gradually release it into the soil, preventing root rot. It’s a natural source of potassium and magnesium. Perlite works similarly to vermiculite; it loosens the soil like sand. The combination of these minerals improves soil quality.
9. I added ash . It’s recommended to add a heaping teaspoon of ash per liter of soil.
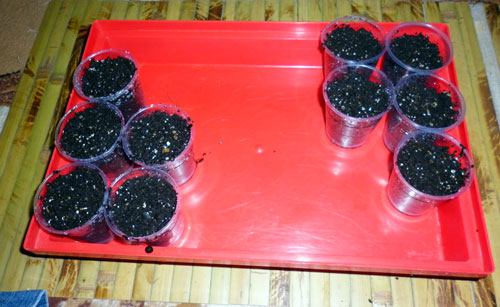
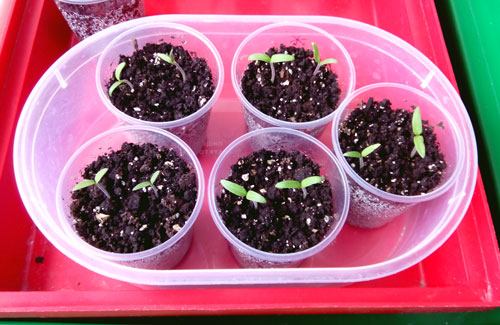
10. I made drainage holes in some 100ml cups, filled them with soil, and planted two seeds per cup, lightly pressing them 3-5 mm into the soil. I sprayed the surface with water using a spray bottle. I labeled the cups with the seed variety. It’s convenient when all the cups are in a single tray, making it easy to rotate them towards the sunlight together.
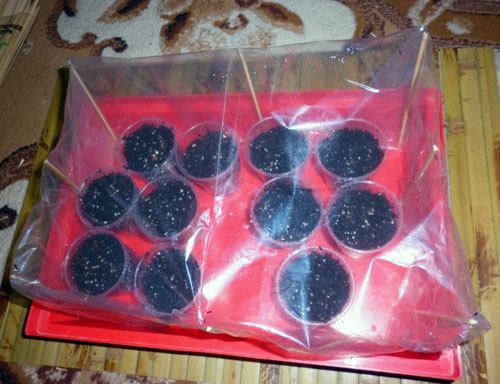
11. I quickly made a mini greenhouse using a plastic bag, bamboo sticks, and tape. For company, I added some thyme I had planted :). The seedlings stay in the greenhouse until the first sprouts (little loops) appear. The temperature should be around 18-20°C, and it’s better to keep the seedlings in the shade until they sprout. I continued to cover the greenhouse at night for a few more days. Adjust based on the weather and trust your intuition.
12. Day 4 after planting. The first watering of the seedlings – carefully, with a spray bottle. Do not overwater. Place them in the light, but monitor the temperature – the cups can heat up, potentially burning the delicate roots under the hot sun.
Day 7. Observations
Yellow tomato sprouts look much healthier, have germinated faster, and are growing well. I water the seedlings lightly every day.
Day 14. Progress and First Leaves
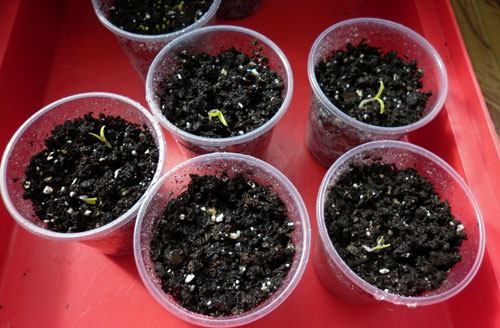
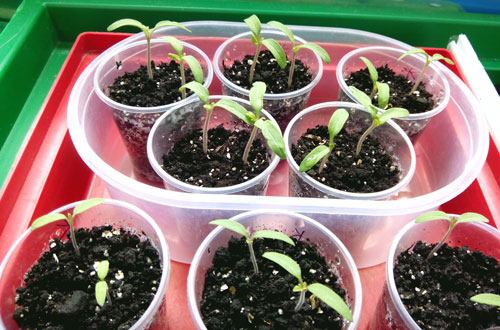
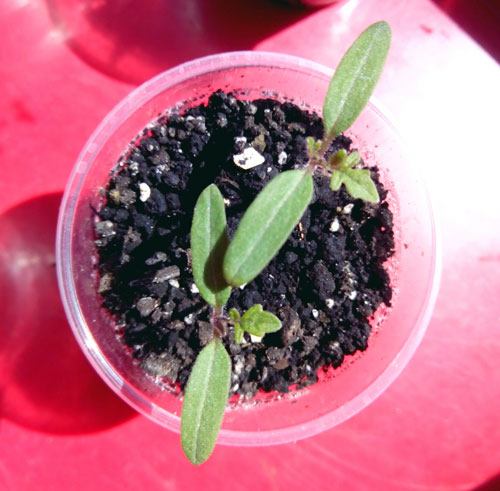
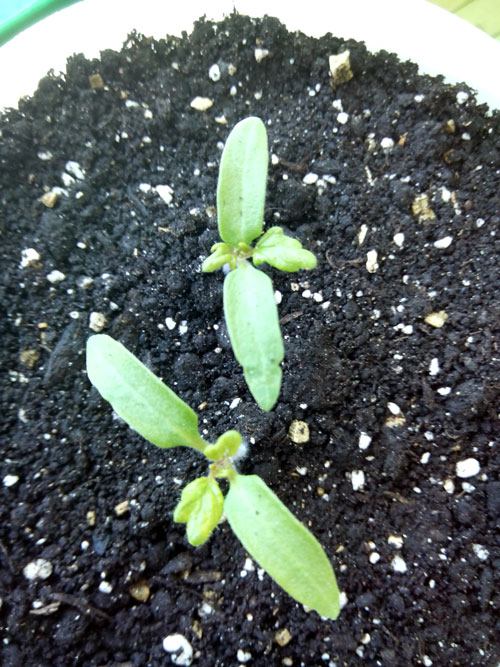
The first true leaves have appeared. You can apply the first dose of mineral fertilizer. However, if you are using ash as a supplement, you can skip this step until transplanting to a pot. Water the soil and spray the seedlings either early in the morning or in the evening. If the weather is cloudy and damp outdoors, avoid spraying the leaves (this helps prevent fungal infections).
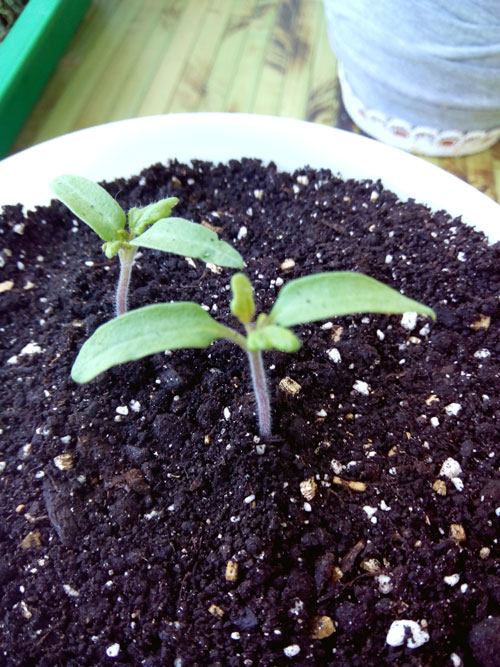
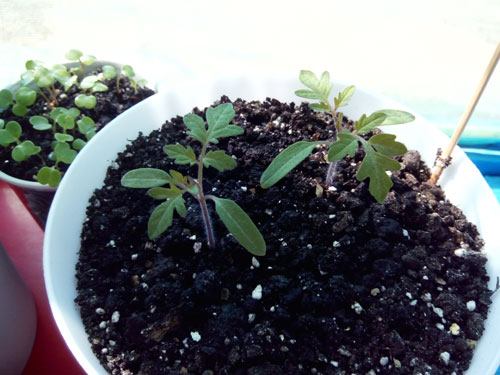
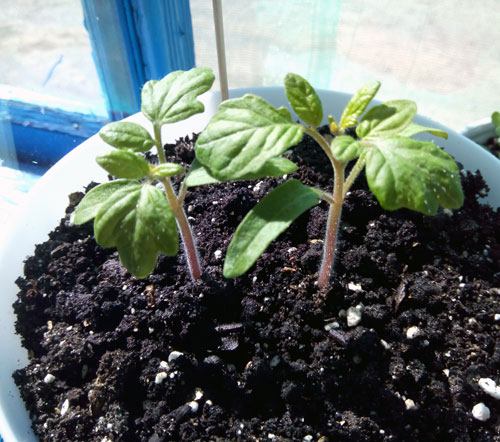
First True Leaves on Yellow Tomatoes
First True Leaves on Red Tomatoes
The red tomato seedlings are not stretching upward excessively, which shows they are receiving sufficient light and nutrients. It’s time to transplant them into pots.
Preparing for Transplanting
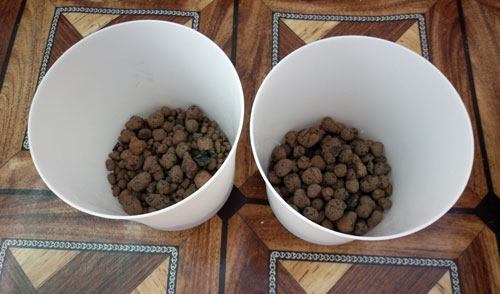
I am using 2L pots. Most likely, this volume will be insufficient for the root systems of these varieties, so I might need to transplant them again before they begin flowering. Additionally, I got a bit sentimental about these beautiful seedlings and decided to place two plants per pot. Pots should have drainage holes, with 3 cm of drainage material (expanded clay) at the bottom.
I filled the pots with pre-prepared soil (the same soil mix I used for the seedlings).
Transplanting the Seedlings
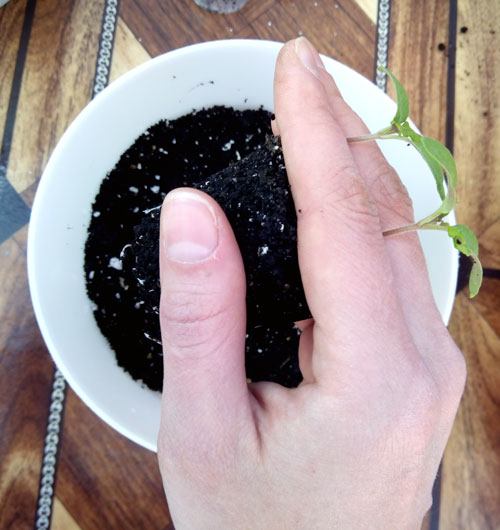
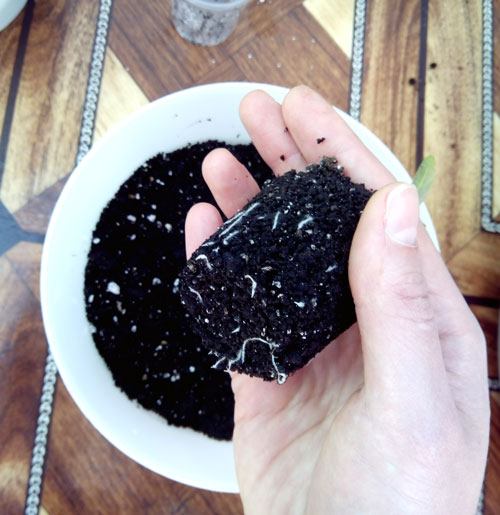
- Remove the seedling from the plastic cup by turning it upside down while supporting the sprouts. The process is straightforward.
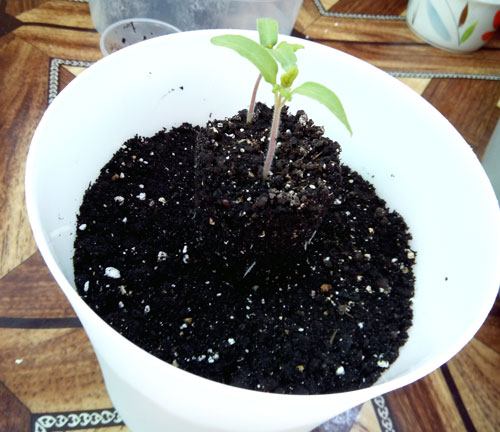
- Place the soil block with the seedlings into the pot.
Finalizing the Transplant Process
I added more soil around the tomato plants in the pot.
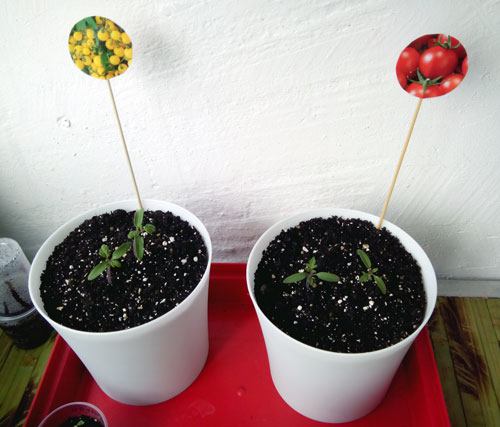
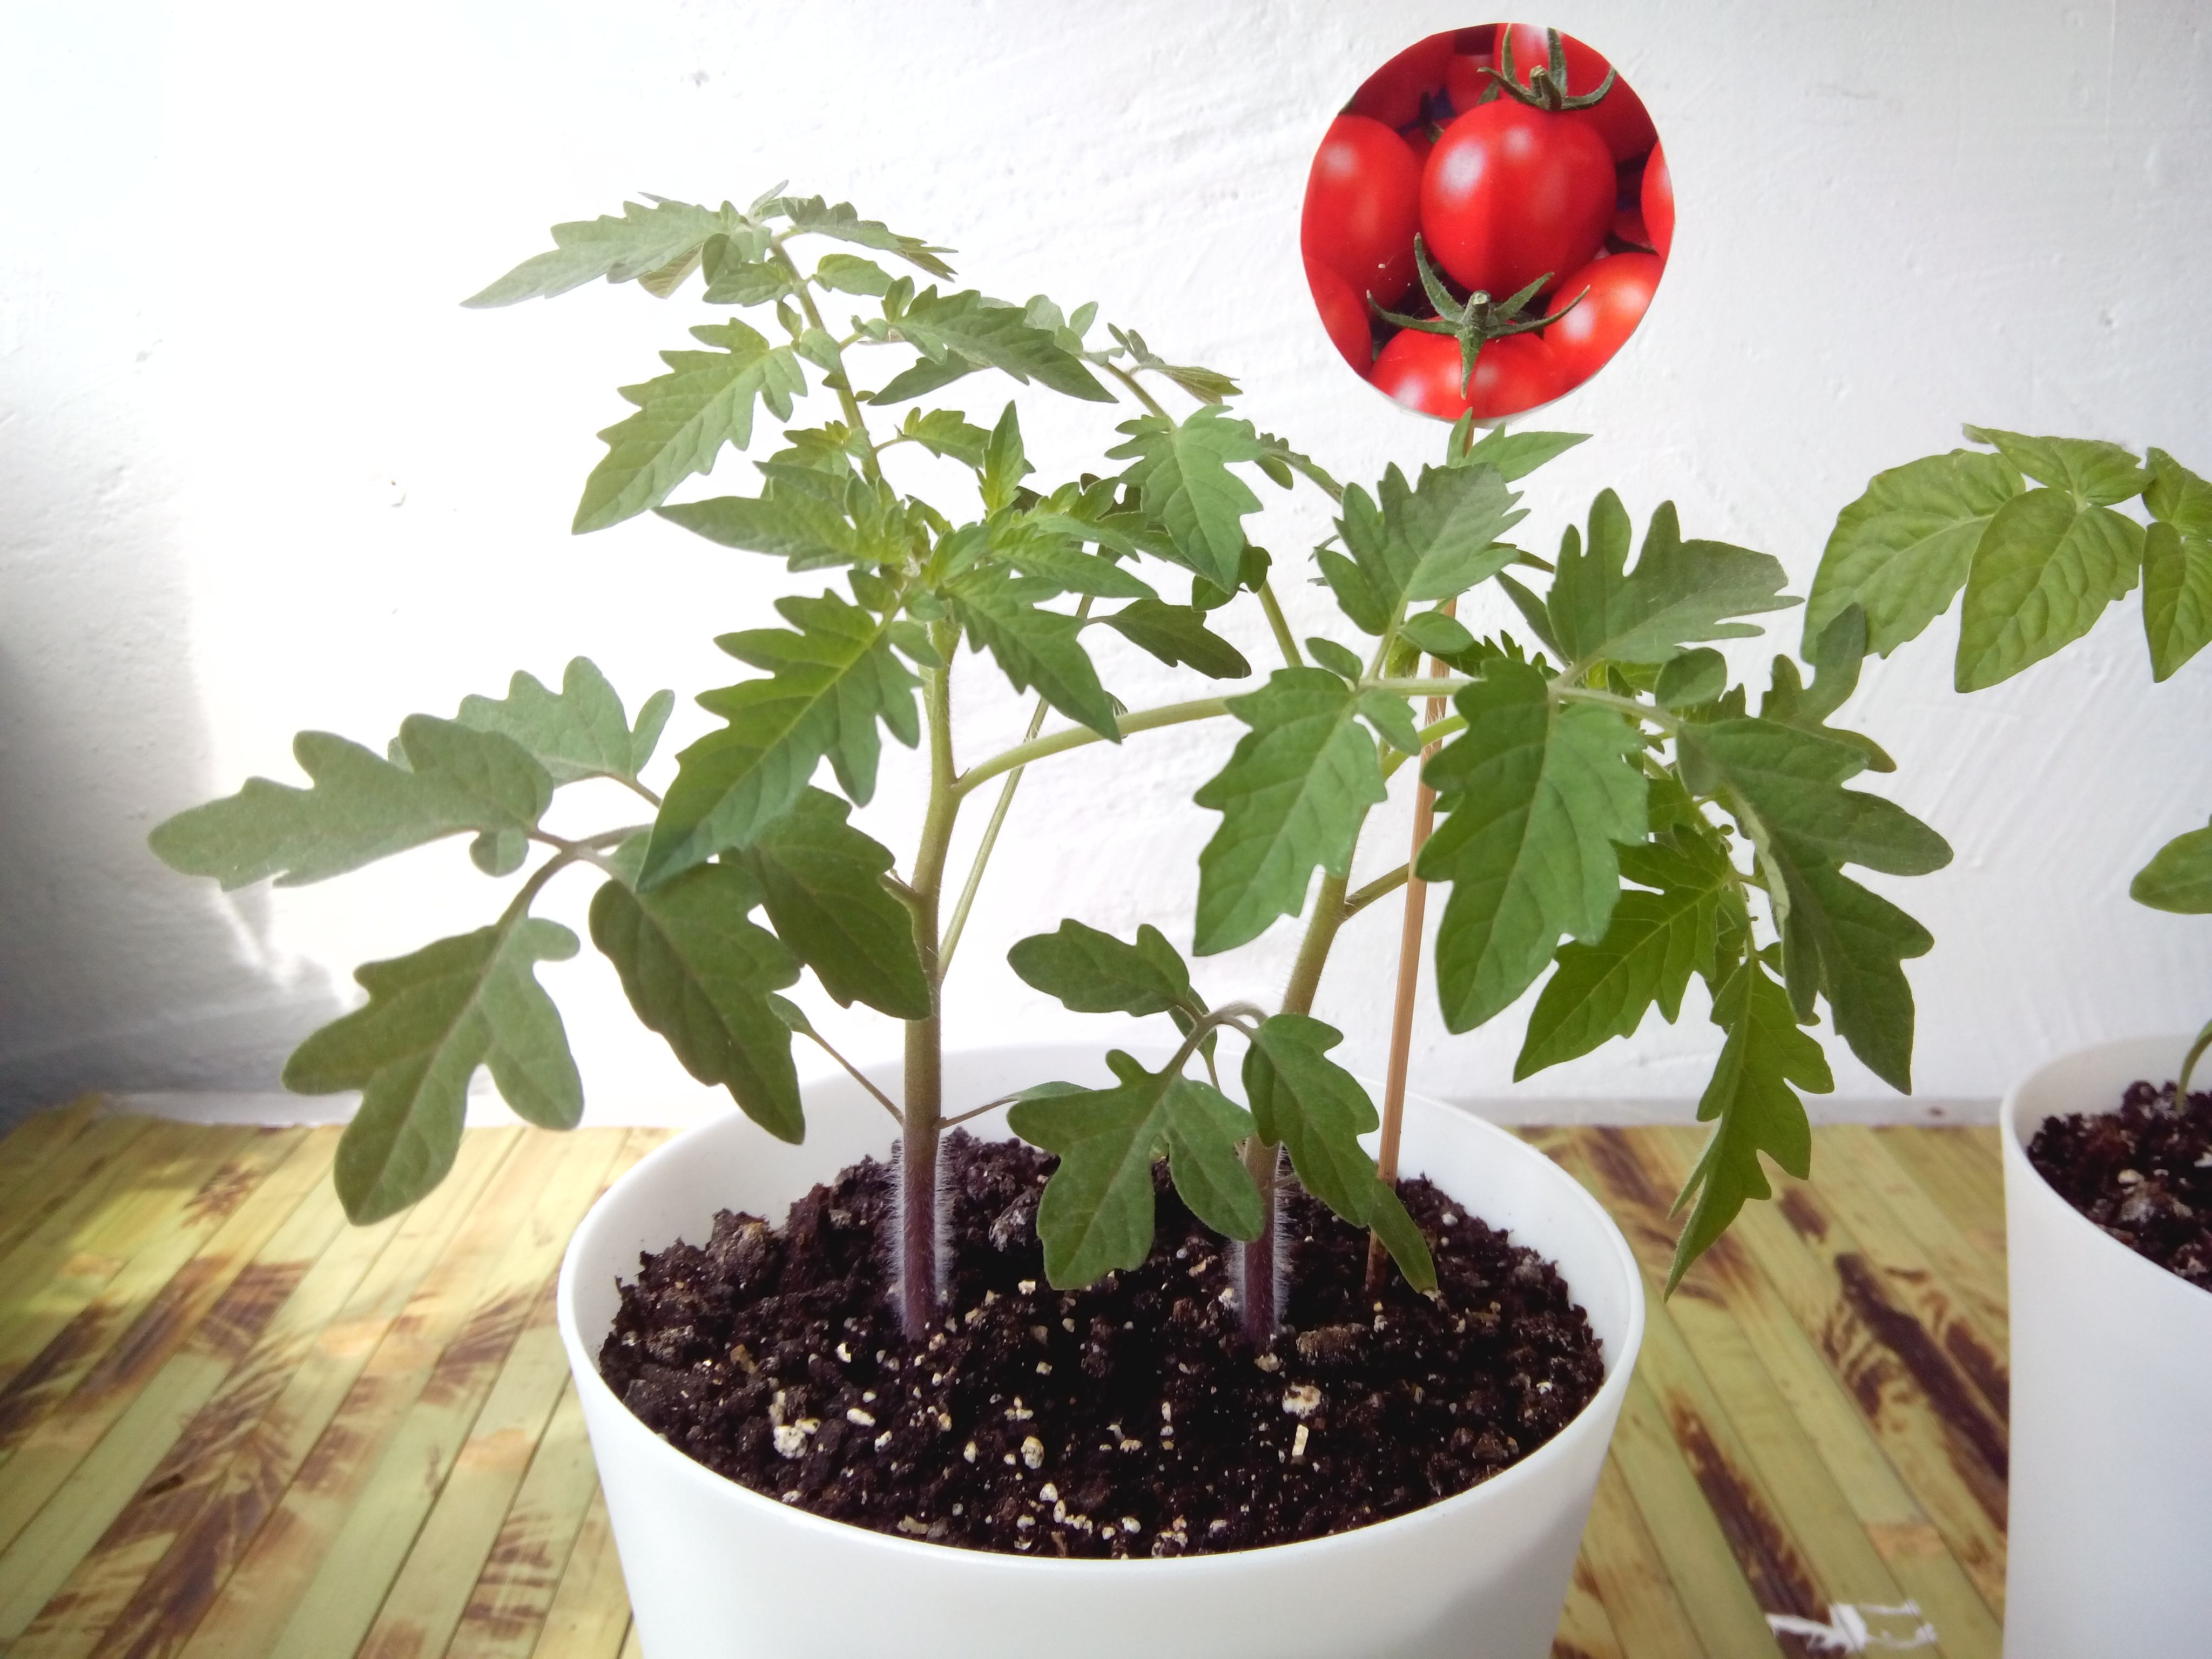
To identify the varieties, I marked the pots using pictures cut from the seed packaging.
Additional Notes on Timing
Although the seedlings were still small, I decided to transplant them because I could see their roots had already reached the bottom of the cups. I didn’t want the plants to suffer.
The yellow tomato plants, in particular, are likely to grow larger.
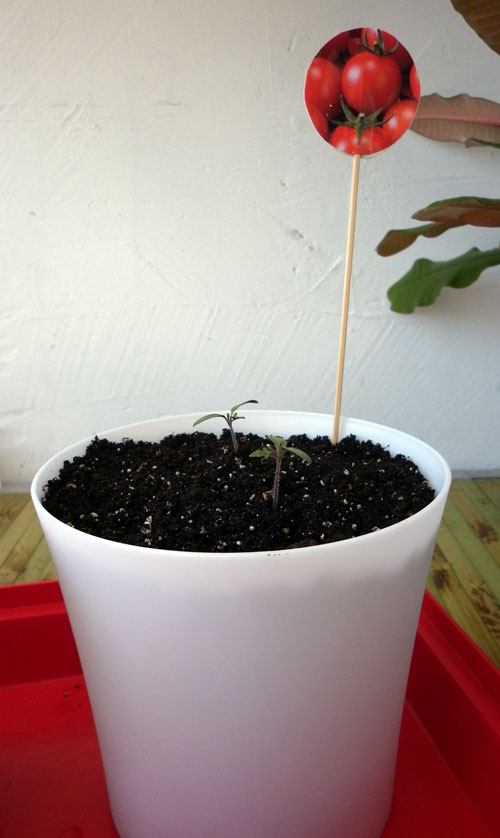
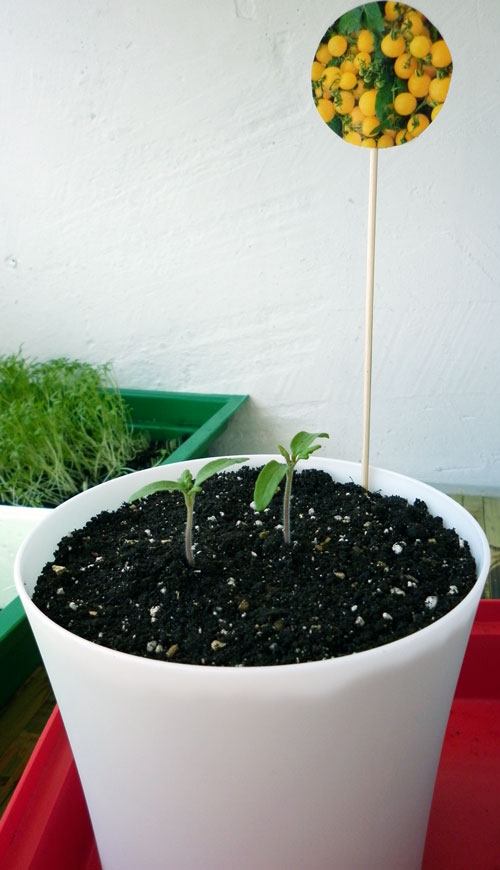
Updates After Nearly a Month
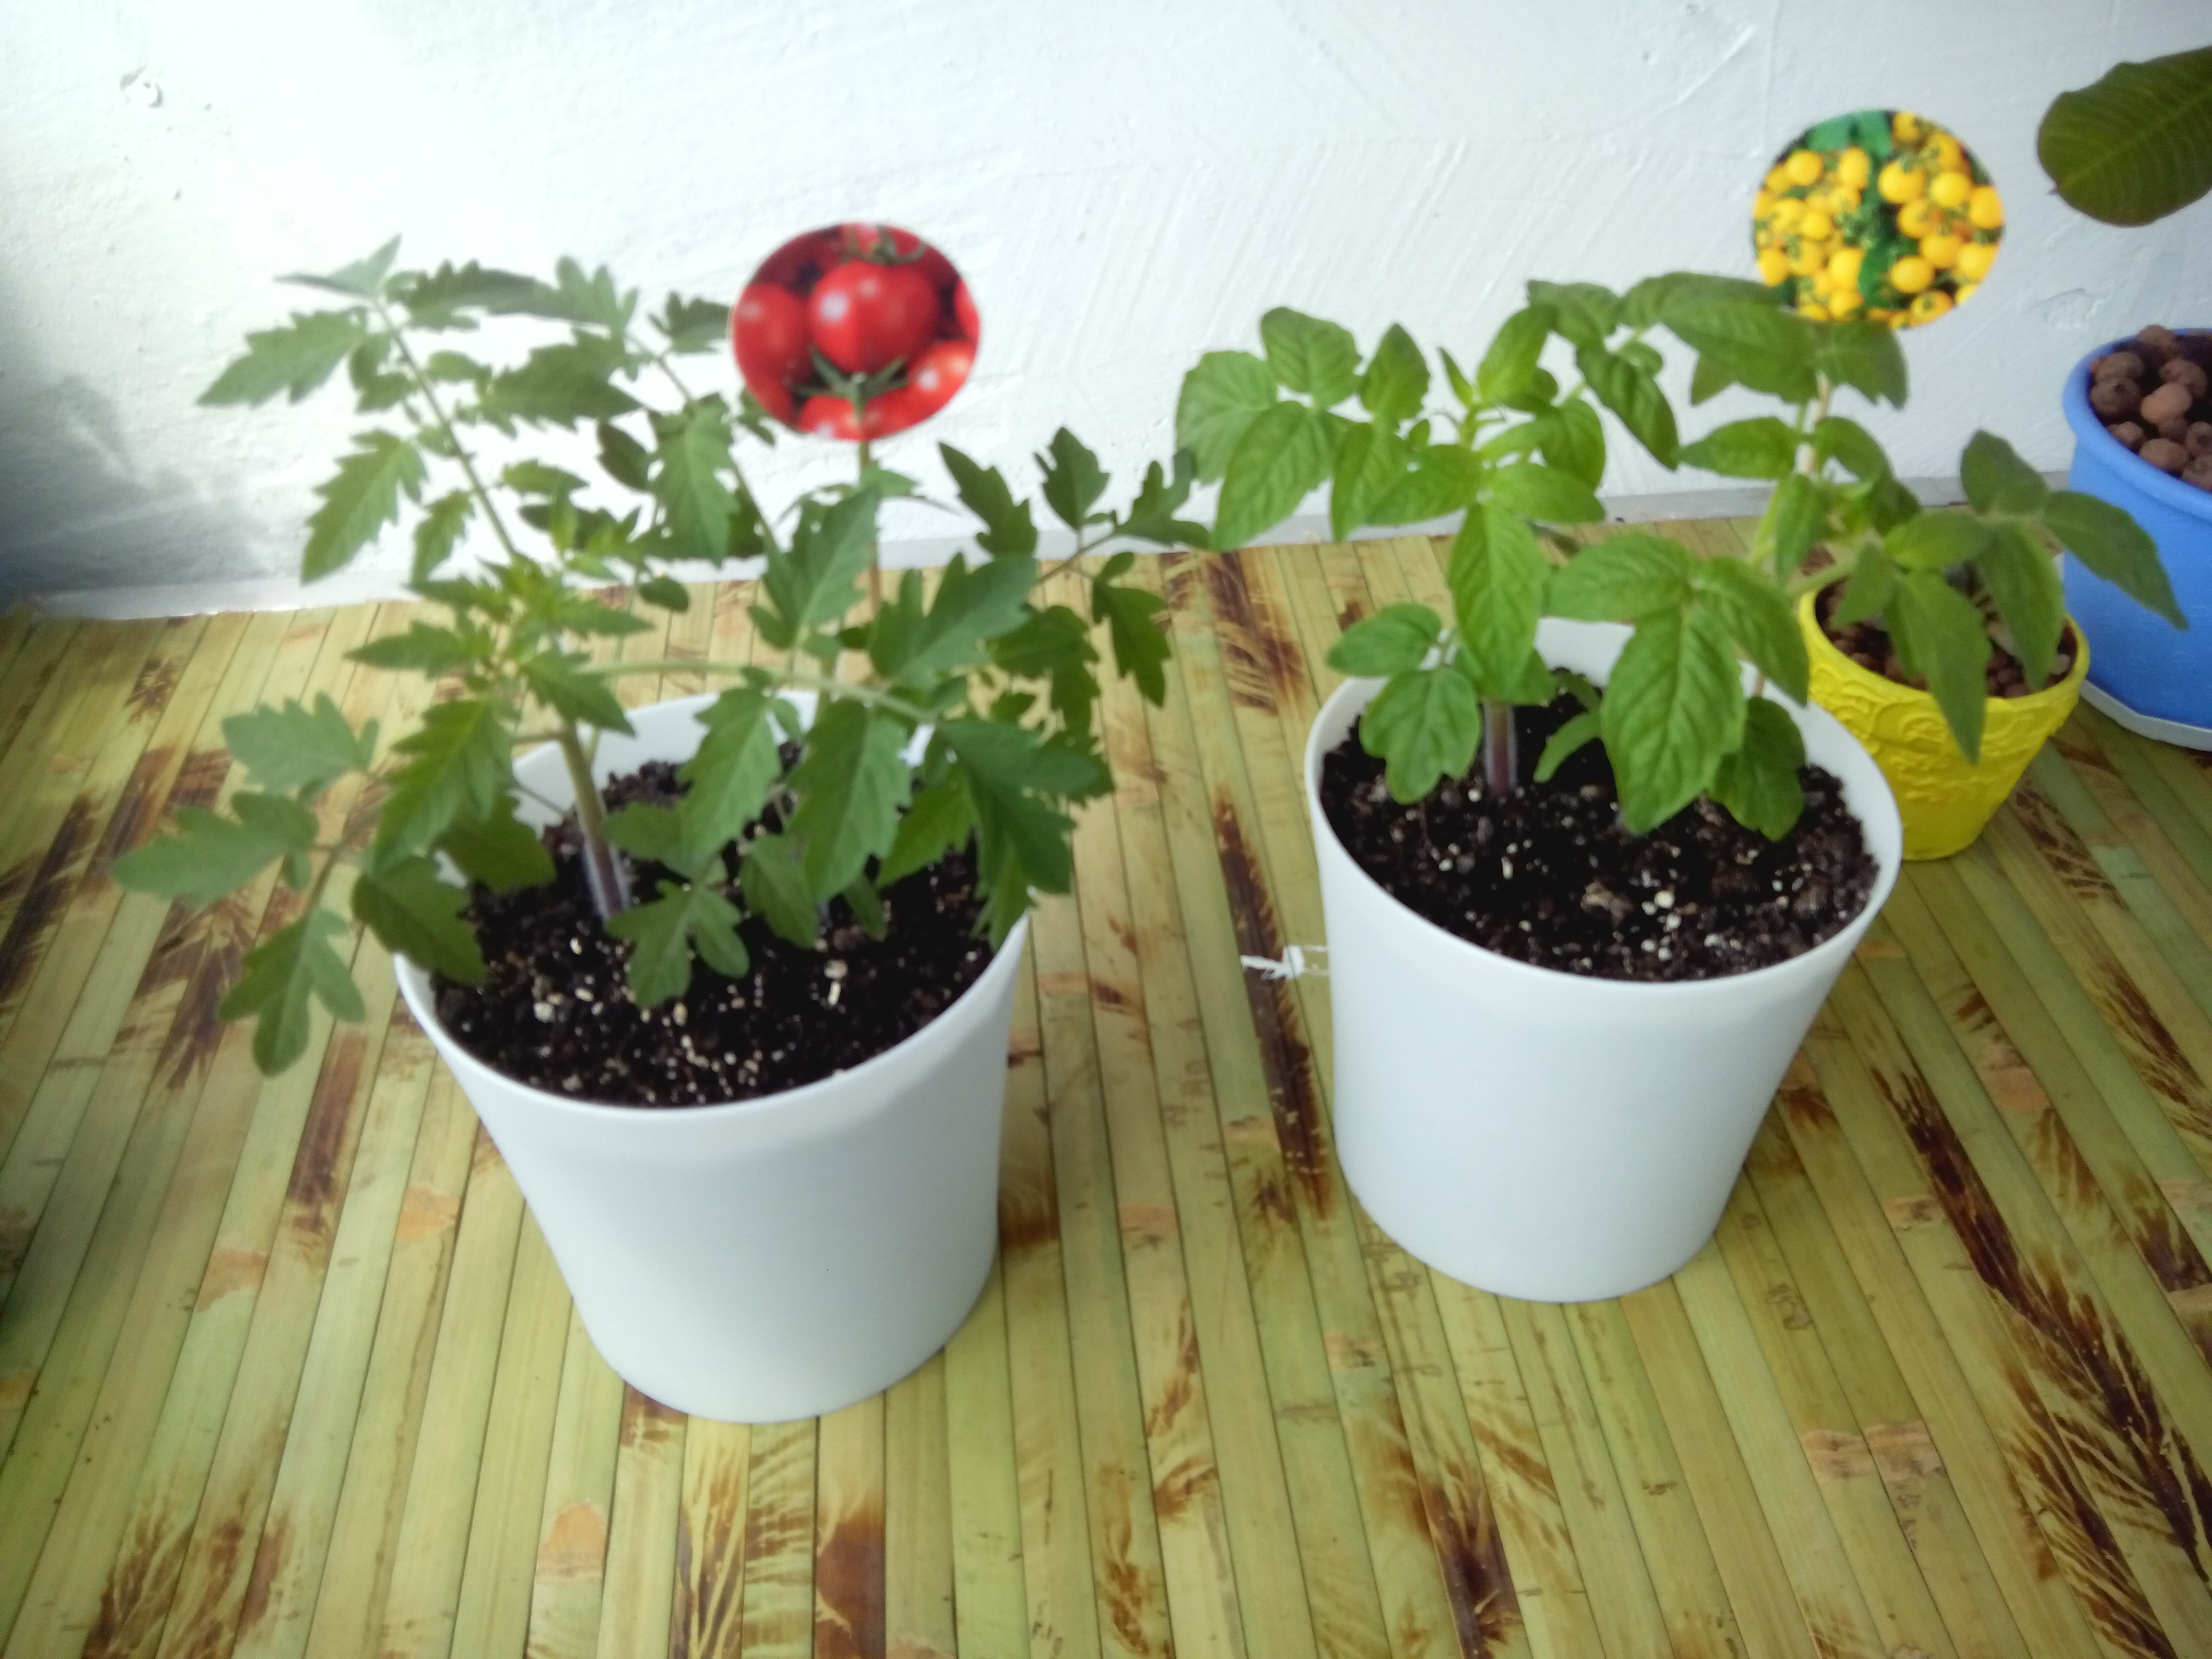
This is the “Cherry” variety.
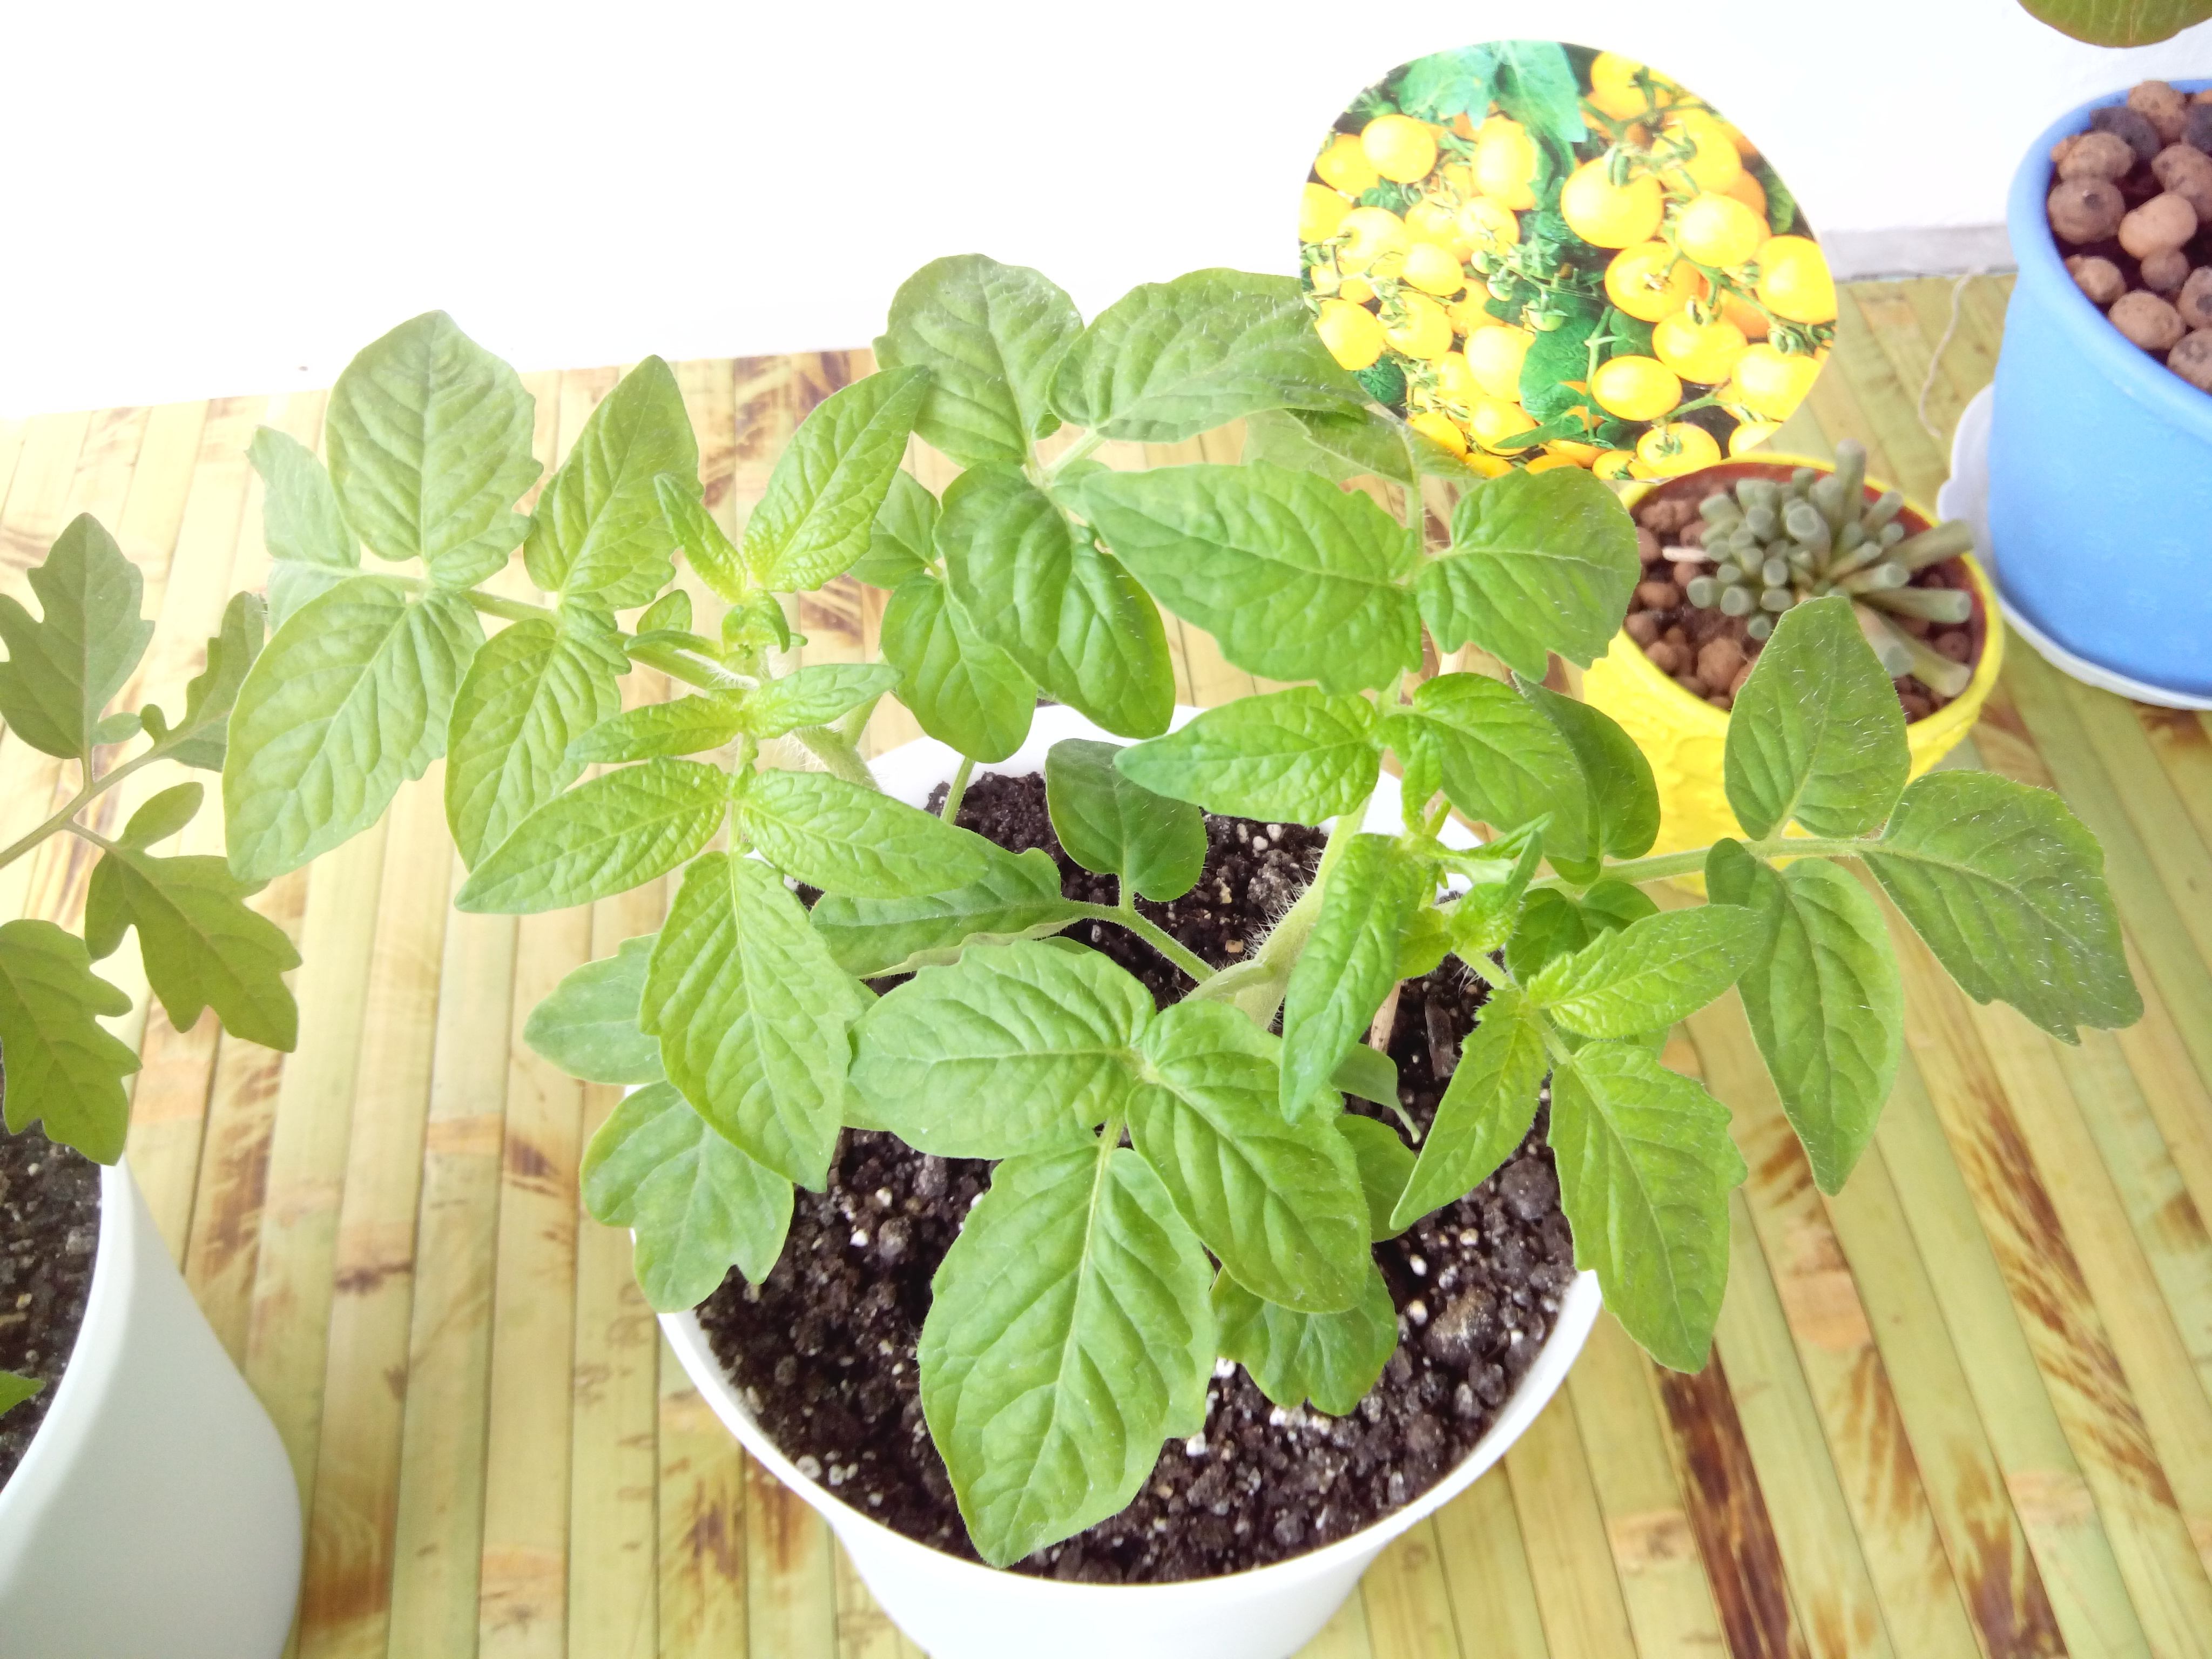
This is the “Balcony Gold” variety. Both varieties have grown equal in size and look healthy.
I water them moderately, once daily. I’ll post the next update in two weeks.
Promised Update: Two Weeks Later
I water them once a day but no longer spray them (I’m cautious about preventing fungal infections).
The tomatoes are growing by leaps and bounds. So far, no issues.
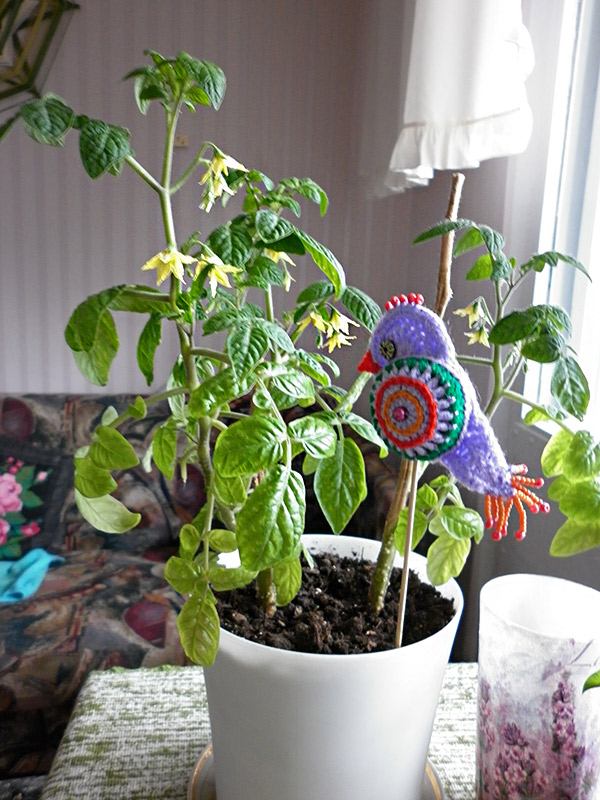
The Tomatoes Are Blooming!
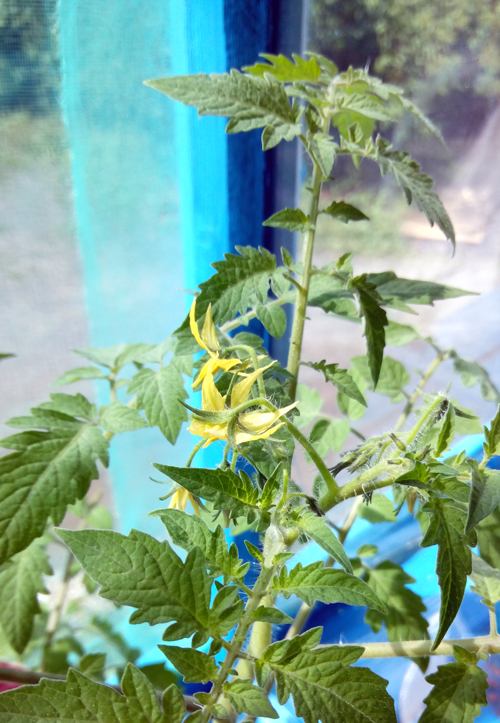 Tomato flowers
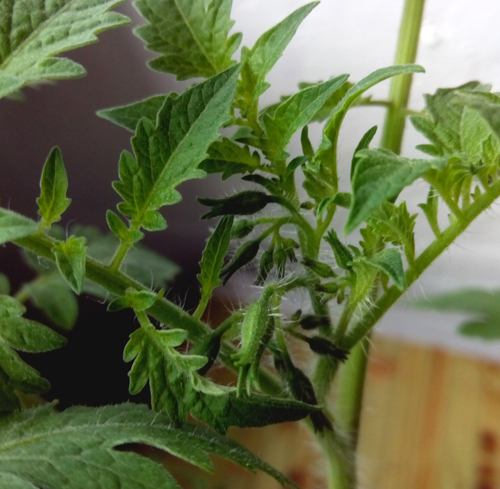 Tomato buds
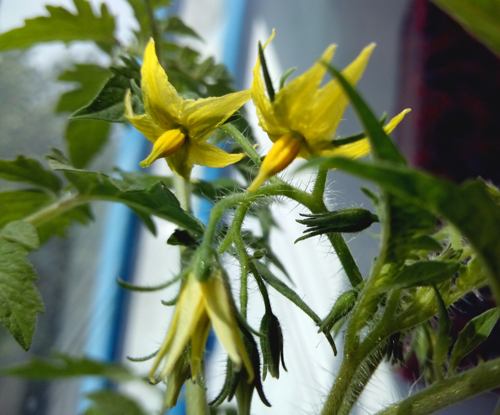 Tomatoes in bloom
Coping with Intense Heat
The unbearable heat has arrived… I hope the tomatoes will still successfully pollinate despite the high temperatures. I shake the flowering clusters twice daily, and their petals are curling outward—a sign that pollination is progressing well.
Because of the heat, I water them early in the morning and after sunset, but I avoid overwatering. The white pots help reflect sunlight, but they might need additional covering with paper. During the hottest part of the day, I move the plants into the shade to prevent scorching.
To Prune or Not to Prune?
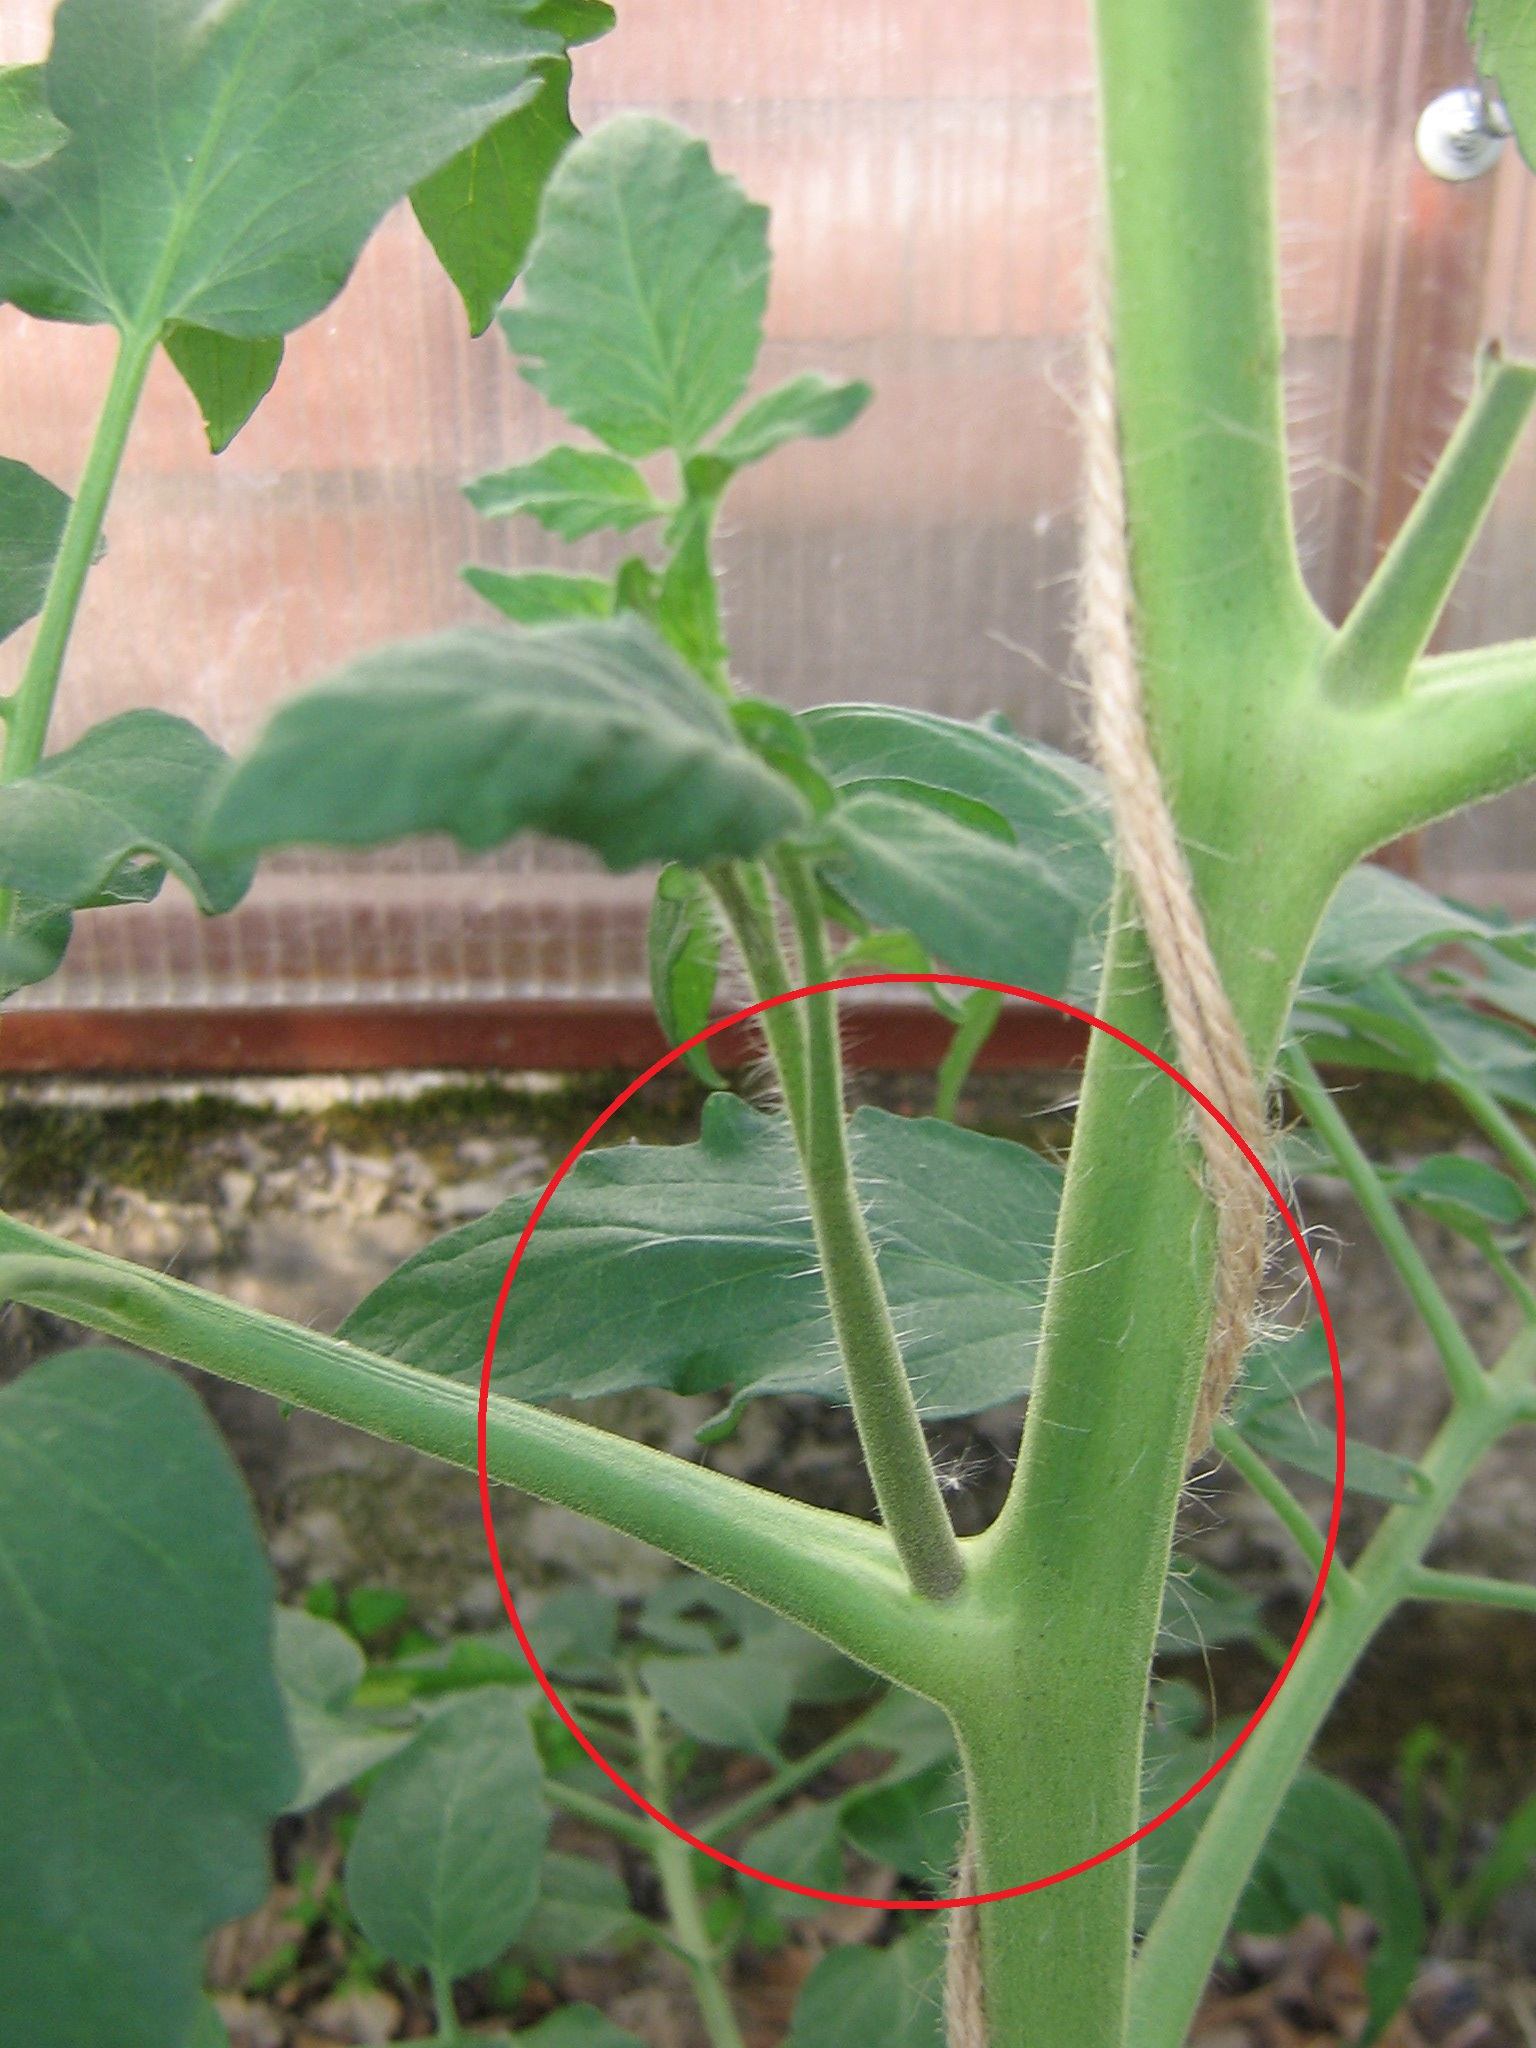
Small shoots (suckers) are beginning to grow—I’m still undecided on whether to remove them. On the one hand, I’d like to encourage leaf growth, but on the other, I can’t wait to taste the tomatoes. I need to do more research on this. Suggestions are welcome: Should you prune side shoots on indoor tomatoes?
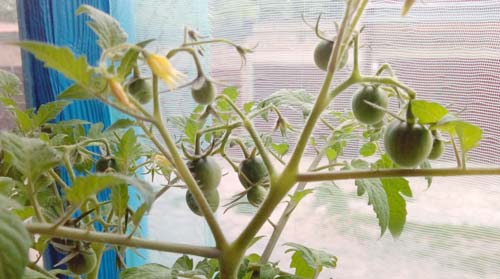
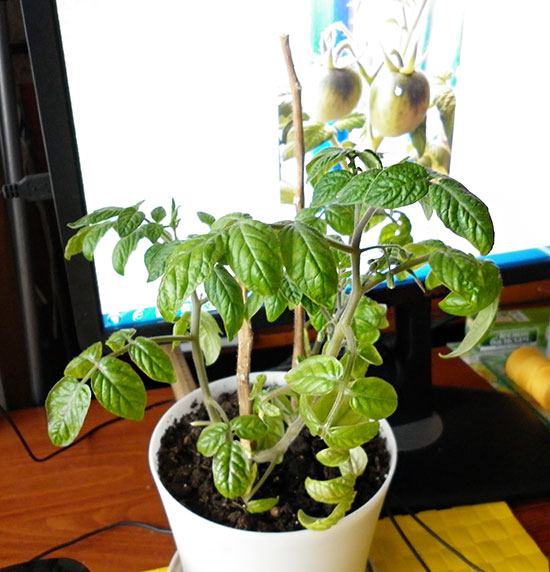
I’ve decided not to prune. Here’s what the tomatoes look like now:
October 28 Update
Today is October 28. Final Summary: The “Balcony Gold” plants were transplanted for wintering indoors , while the “Cherry” variety is no longer with us.
April 8 Update: After Wintering
The tomatoes successfully overwintered and are now blooming profusely:
