If you’re looking for fun and easy at-home projects for kids, try starting a windowsill garden or germinating seeds using different methods.
You can introduce your little one to the life of plants year-round by dedicating a small space on the windowsill for your child’s garden. There’s no need to wait for spring to embark on a simple and engaging project like growing seeds with children.
The experiments described below require only a bit of patience but will allow your kids to observe the entire life cycle of a seed from day one. The birth of a plant is so fascinating that your child’s interest in this shared activity is sure to remain strong. So, how can we make learning about plants engaging for kids?
Germinating Beans in a Jar with Cotton Balls
This is one of the simplest yet most fascinating ways to show a child how a plant develops, especially its root system—a hidden mystery to most young children.
You will need:
- A clear glass container (jar or glass);
- Cotton balls or pads;
- Beans.
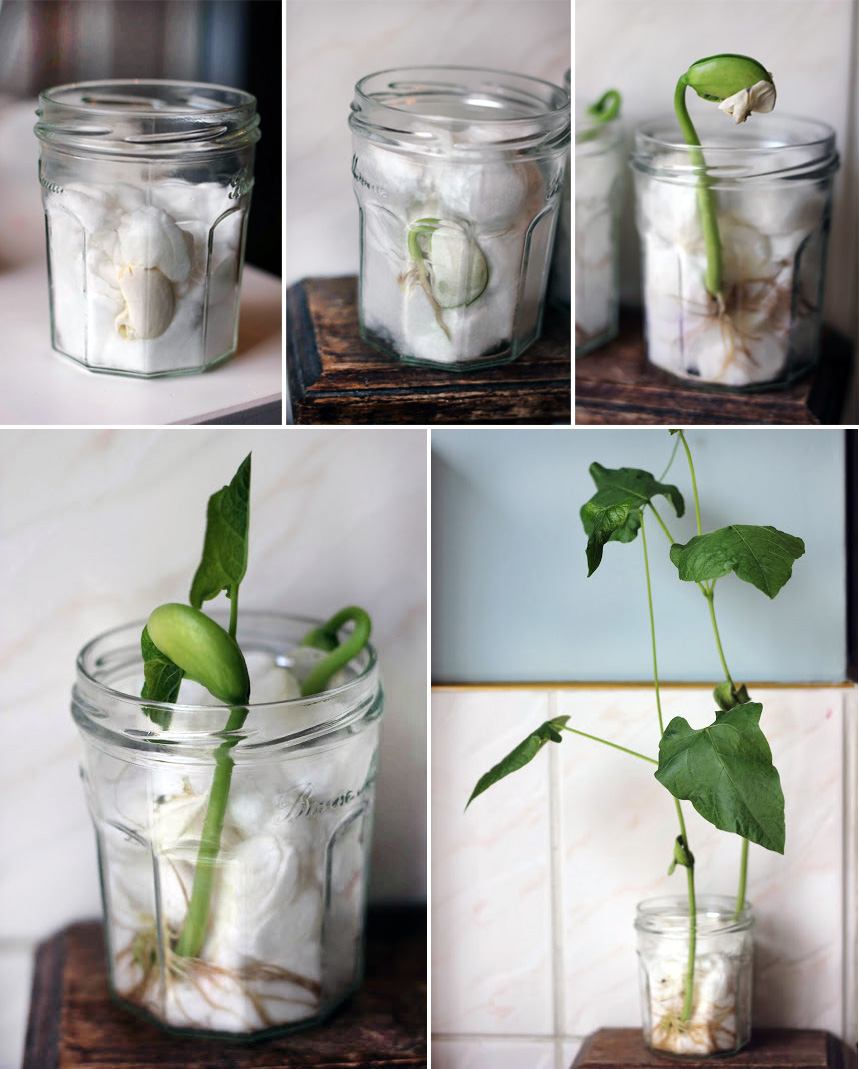
Fill the container with cotton balls and place a bean along the inner wall of the jar. Moisten the cotton using a spray bottle until it’s damp (but avoid leaving water pooled in the jar). Place the jar on a windowsill, shading it from direct sunlight.
The root will sprout within 2–3 days, and the first pair of leaves will be ready to unfold and shed their skin by day 4. By day 8–9, the skin will fully fall off, and a network of shoots will spread alongside the primary set of leaves.
Within two weeks, the bean will transform into a young plant with a complex root system that seeks more sunlight. If you’d like, you can transplant the bean into soil and continue caring for it.
Older children can create a growth chart, maintain a “bean journal,” sketch the stages of growth, or even draw diagrams. You can also document the process together with photos.
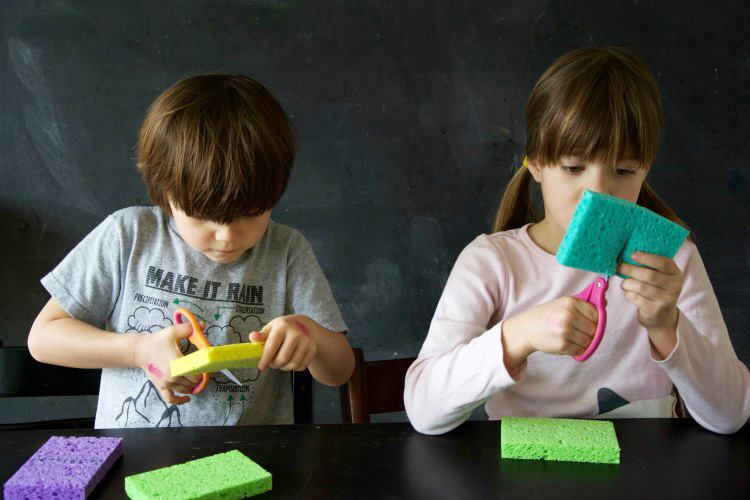
Sponge Gardening
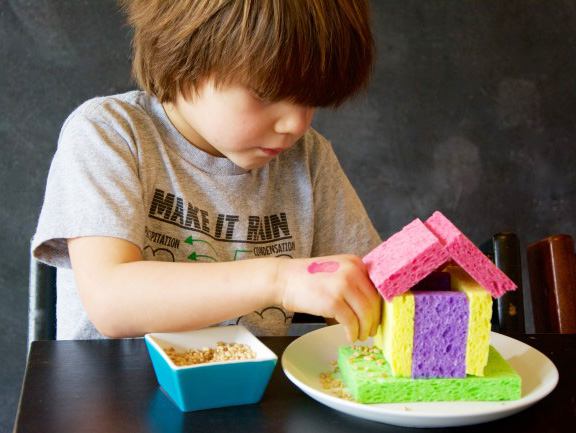
Help children learn about plants using this creative and unusual method.
For this project, you’ll need:
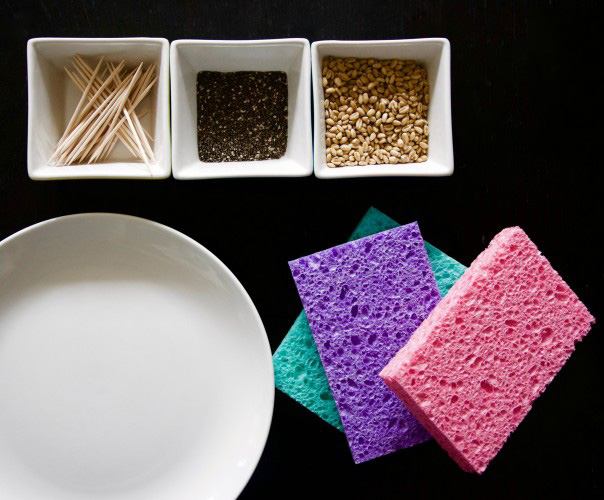
- Kitchen sponges;
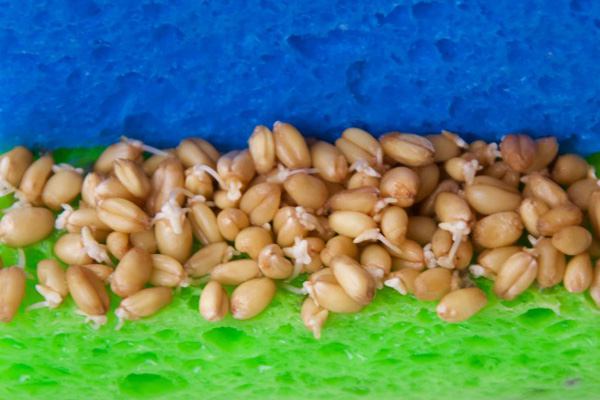
- Seeds of cress or flax (these are great because they easily adhere to any moist surface);
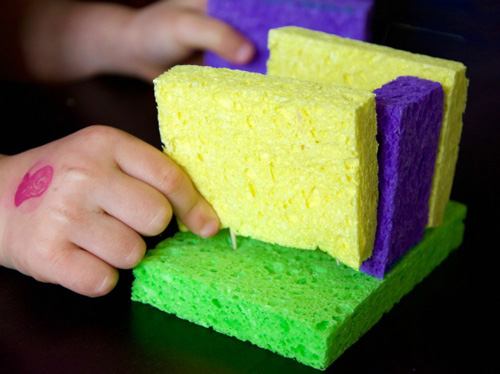
- Water and toothpicks or pins.
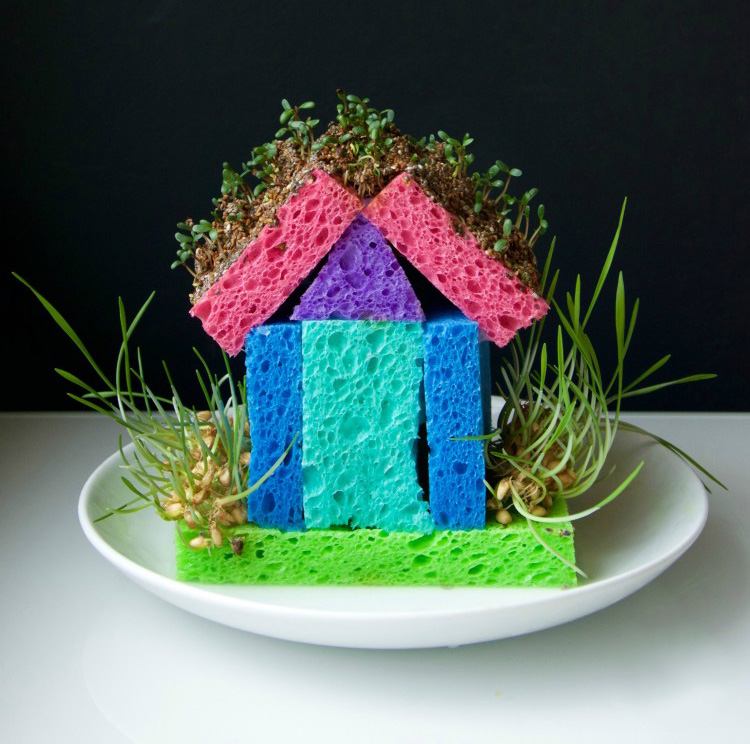
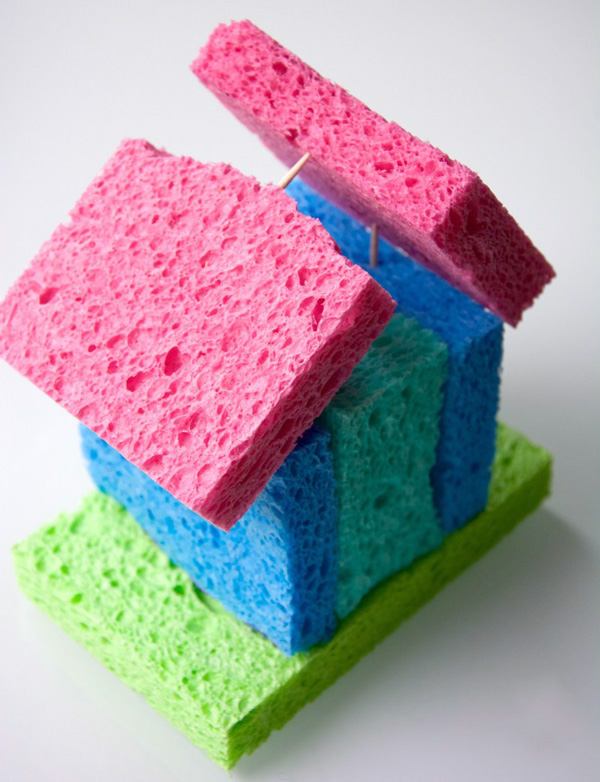
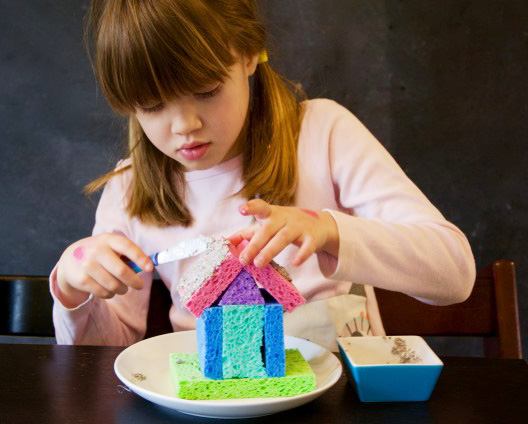
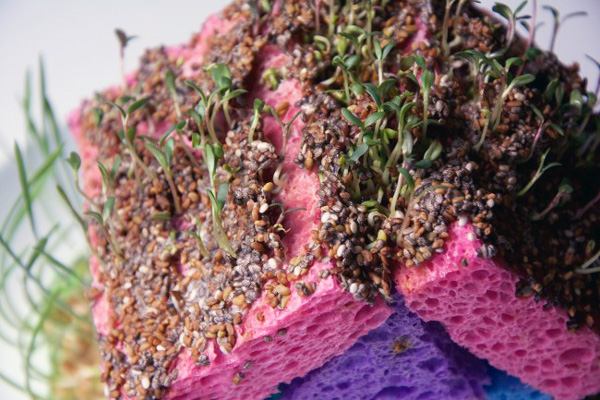
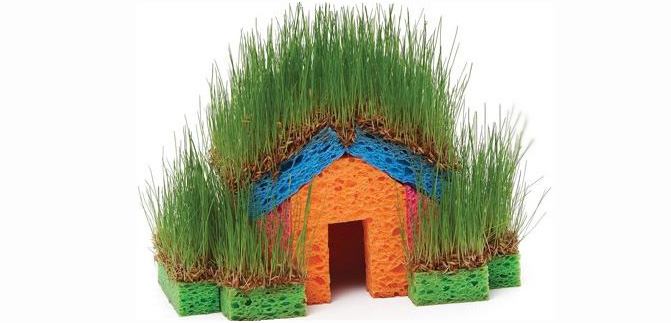
One major advantage of this method is that the sprouts are edible and germinate quickly. A sponge house can also serve as a charming decoration for your windowsill, while your child’s curiosity is kept alive by the whimsical and dynamic growth of the tiny greens.
Regardless of the “design” you decide to use for your sponge house, here are some universal tips:
- Sponges are easier to cut when moist.
- Initially, sponges should be damp, but water should not drip from them.
- Keep the sponges hydrated by spraying them with water several times a day.
- Cover the sponge garden with a plastic bag for the first 2–3 days to prevent drying overnight.
For the house’s roof, mix seeds with water and allow them to swell, creating a sticky “paste” that will cling to the sponge and stay in place.
The sprouts can be eaten, and your child will be brimming with pride as they eat a buttered sandwich topped with homegrown cress!
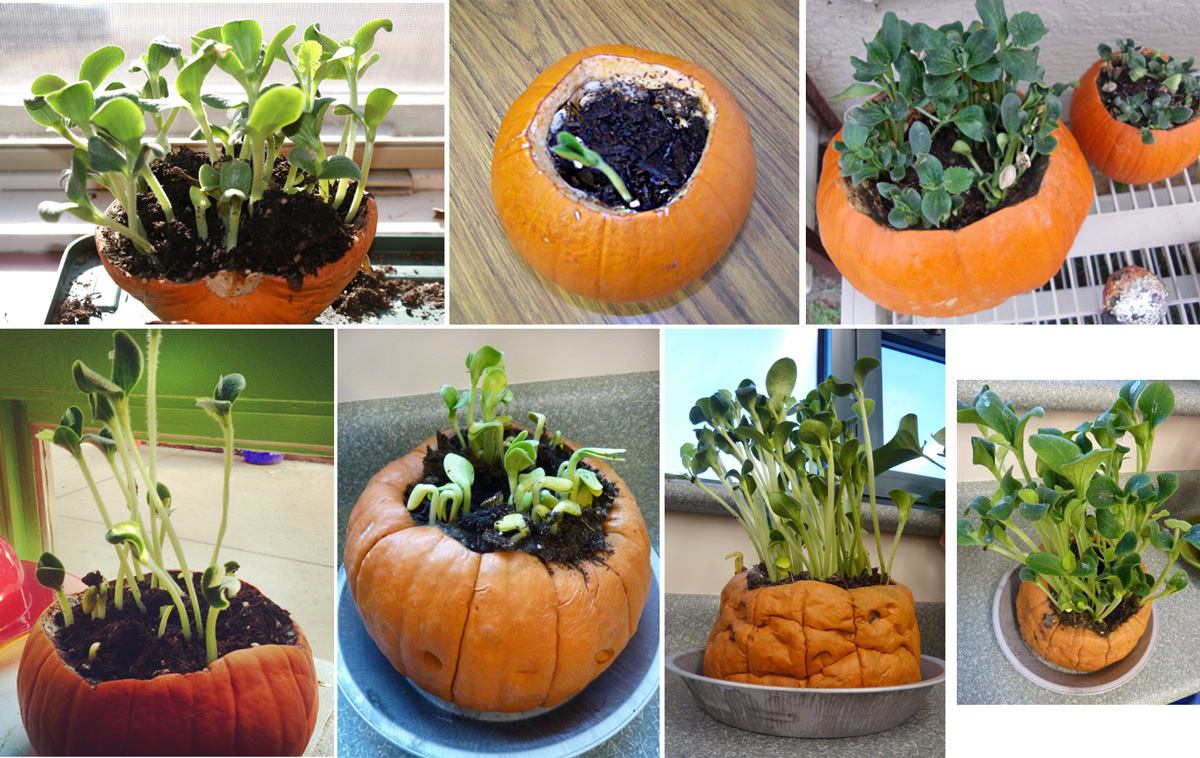
Growing a Pumpkin in a Pumpkin!
This experiment takes a bit longer than growing beans and cress seeds, but it’s perfect for preschoolers and early elementary-age children. Choose a sturdy, small pumpkin and save some of its seeds. Fill the pumpkin with soil, plant a few seeds, and water. According to the project’s creator, the pumpkin doesn’t emit odors while decomposing, but it provides ample nutrients to nourish the plants.
If you begin this project in March, the pumpkin seedlings will be ready for transplanting into the garden just in time for planting season. This unique way of teaching kids about plants is quite popular in British and American preschools.
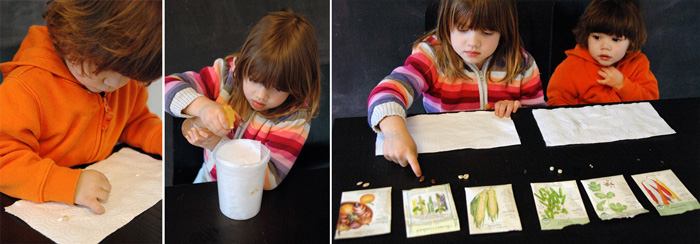
Germinating Seeds on Paper
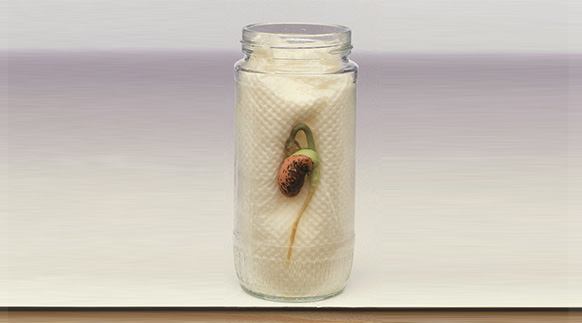 We roll toilet paper or paper towel into a tight roll, pour 2 cm of water at the bottom (it will rise up the paper to the bean), place the bean against the jar wall, and spray the paper with a sprayer to moisten it. The bean develops a root system with astonishing speed.
