When
preparatory work
is completed, and
the sowing date
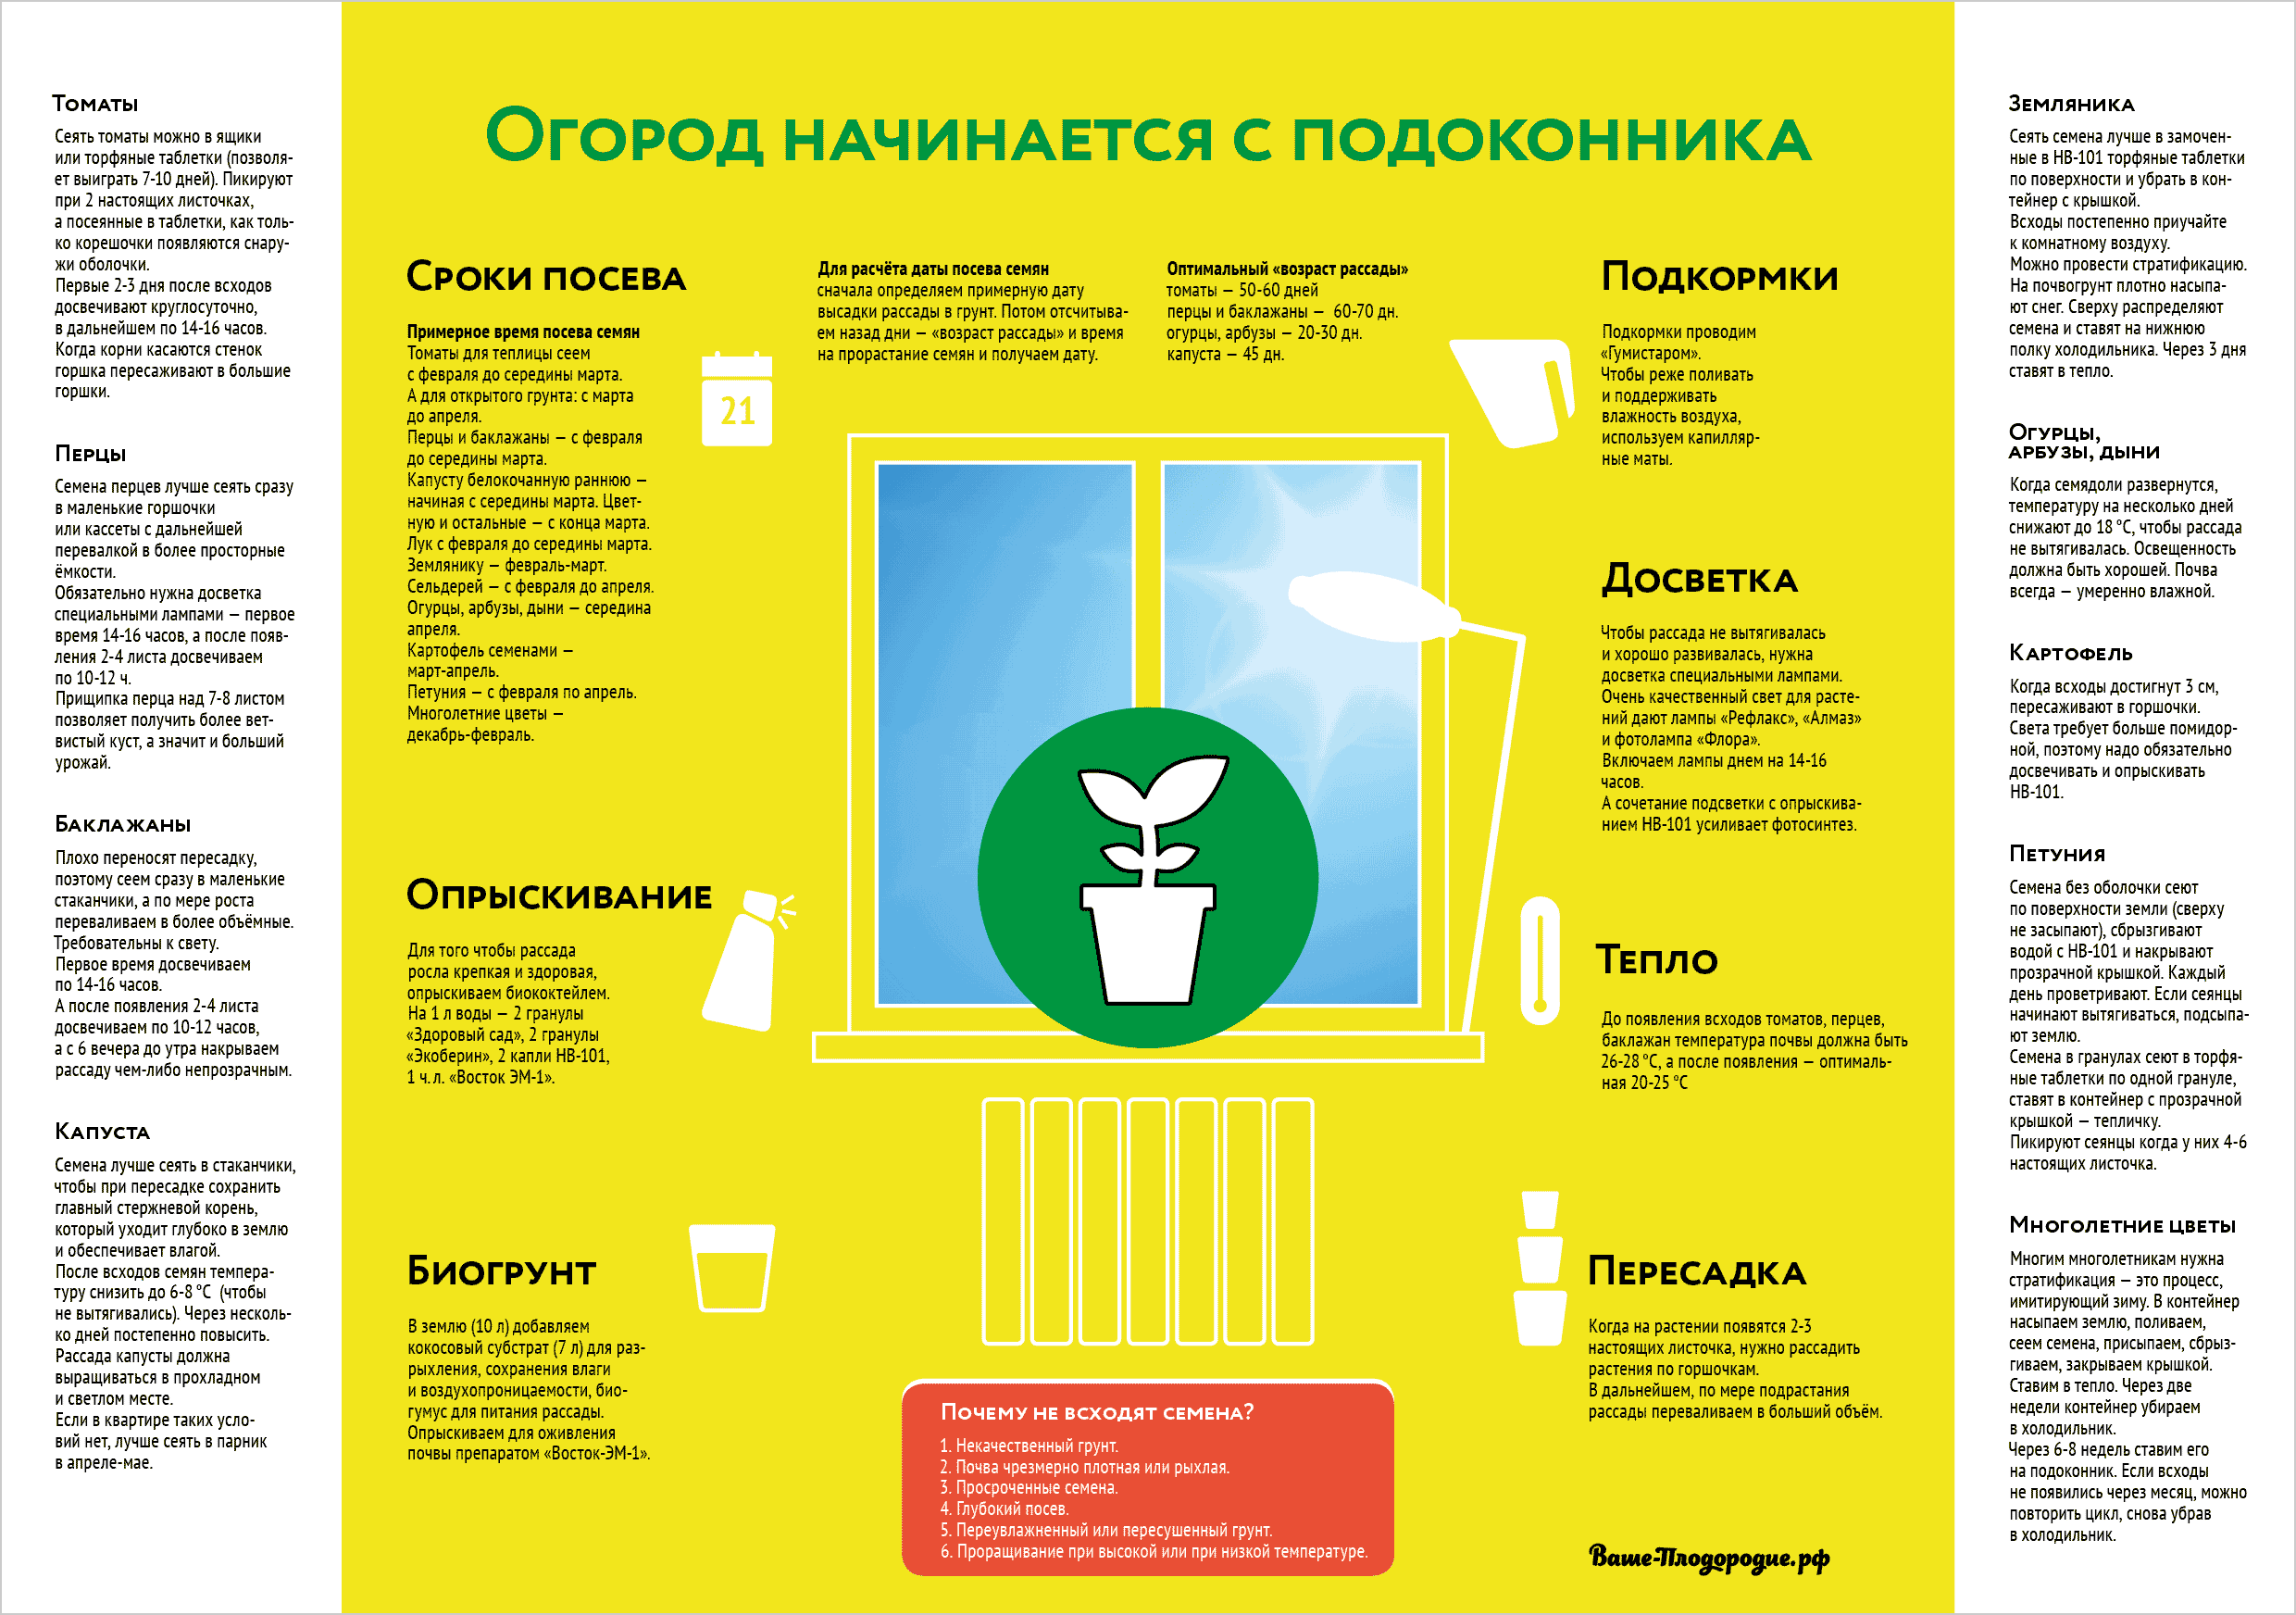
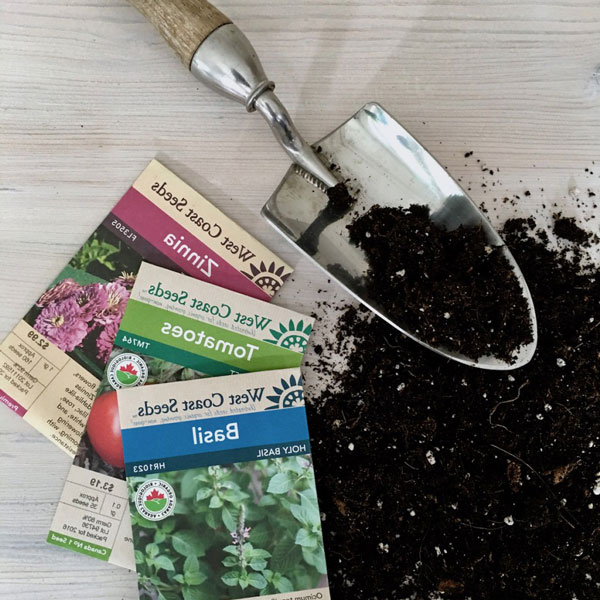
is determined, it’s time to get started. Sowing seeds for seedlings is not difficult; the depth of sowing and germination temperature are usually specified on the back of the seed packet. If you’ve got so-called “heirloom” seeds (wrapped in newspaper, for instance), the table below will come in handy.
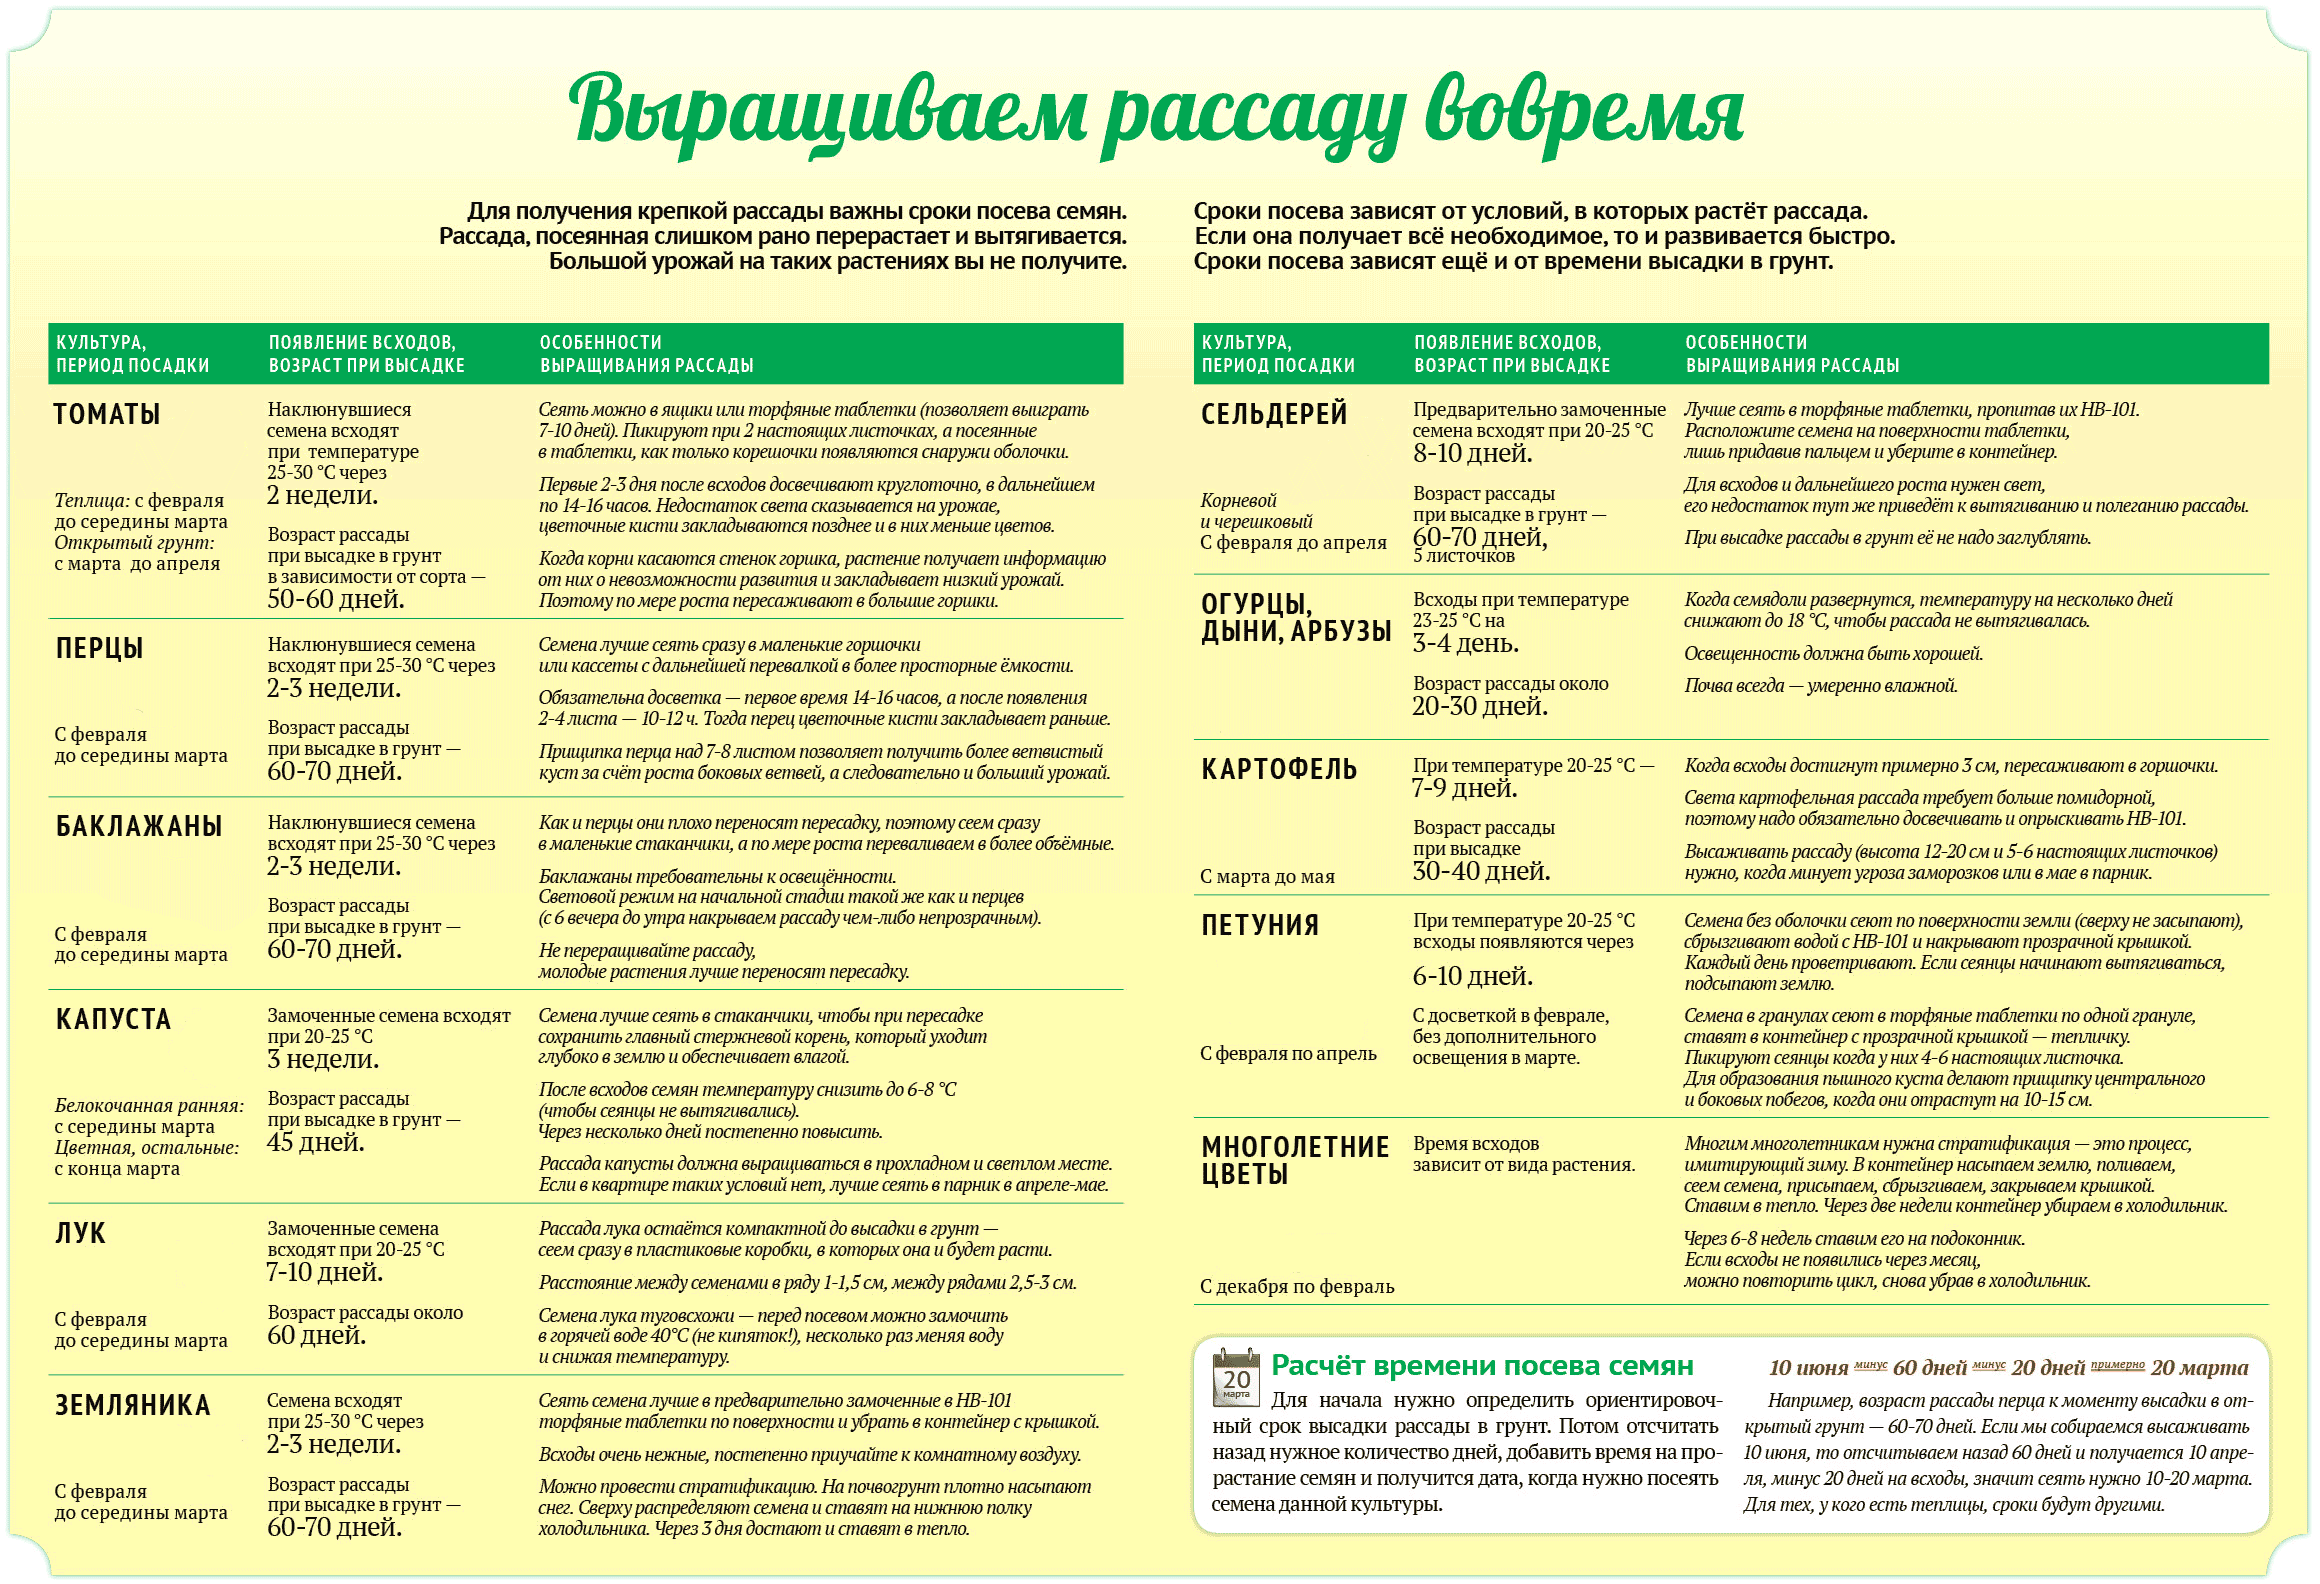
How to Sow Seeds for Seedlings
Most seeds require preliminary soaking. This process can be combined with seed treatment and growth stimulant application (if desired). Soaking helps wake up the seeds and reduces germination time by several days, thereby lowering the risk of fungal contamination. There are many methods for soaking and treating seeds. My article from last year discusses several methods for different seed sizes.
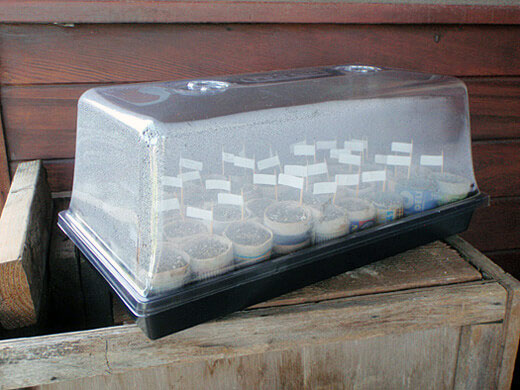
Usually, 2-3 seeds are placed in one container to even out germination chances, allowing you to select the strongest seedling for transplanting. When covering the seeds with soil, lightly press it down so the seeds make contact with the soil. Mist the surface with a spray bottle and cover it with a makeshift greenhouse. For my few tomato plants, I crafted a primitive greenhouse from plastic wrap and bamboo sticks, though I promise to gather more ideas from the web on this topic soon and prepare an article.
Check the containers daily, air them out, and monitor the temperature. During the greenhouse phase, it’s easy to ruin everything due to mold.
How to Care for Seedlings
Our main tasks are to keep the seedlings warm and moderately moist.
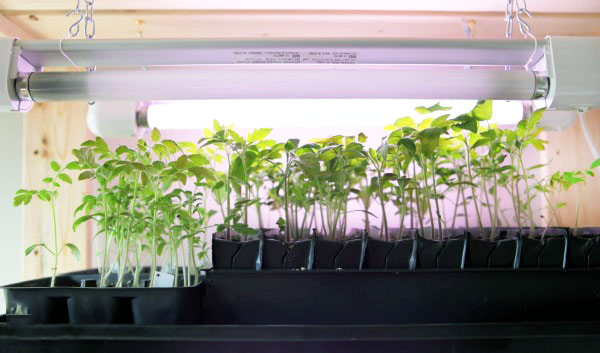
As soon as sprouts emerge, the greenhouse cover should be removed, and additional lighting provided for the seedlings. Fluorescent daylight lamps are a compromise if you can’t purchase special-spectrum grow lights. LED strips are another good option. For more on additional lighting, check previous articles 1 , 2 , and 3 . The lamp should be no more than 20 cm (8 inches) from the sprouts, providing not just light but also the necessary warmth. Without adequate lighting, it’s hard to prevent plants from stretching toward the light. Containers need to be rotated daily. The optimal daylight duration for growing plants is 15-18 hours.
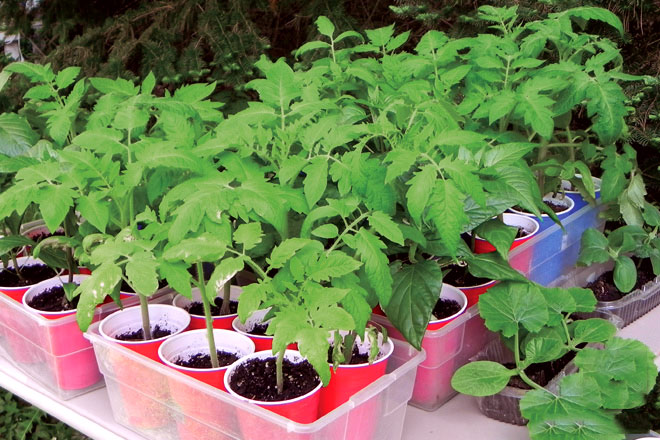
The soil should not be waterlogged. Opt for misting rather than watering until the first leaves appear. Once the first true leaves emerge, watering should ideally be done through the bottom tray. For a time, I continue covering containers with the greenhouse cover overnight, though I’m not sure if it’s strictly necessary.
Fertilizing Seedlings
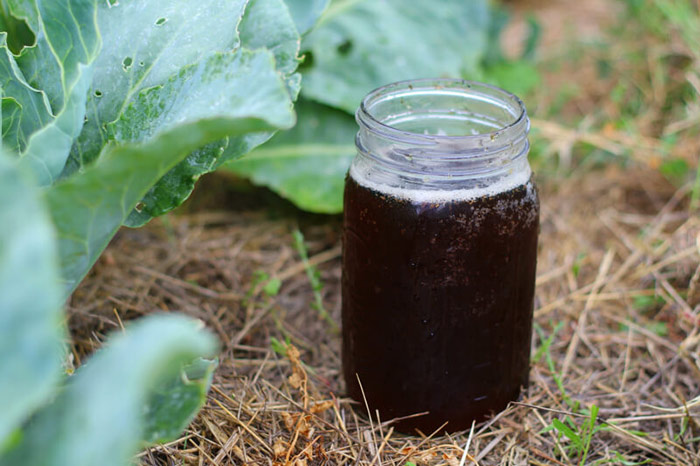
With the appearance of the first leaves, the plant depletes the nutrients from the seed, and at this point, it becomes necessary to start applying fertilizer. The first feeding is especially important if you’re using a sterile starter mix (peat/perlite/vermiculite). Unlike potted plants, which can be given slow-release fertilizers, seedlings require liquid and fast-absorbing formulations.
Seedlings are very sensitive to temperature, especially during fertilization. Cool soil reduces nutrient uptake and inhibits the activity of beneficial bacteria in compost-based fertilizers. To successfully fertilize seedlings, use fertilizers at room temperature or slightly warmer.
Seedling roots are delicate and sensitive to high concentrations of nitrates and minerals in fertilizers. Therefore, it’s best to apply weaker solutions, but more frequently—every 7-10 days.
Hardening Seedlings
You can begin hardening and acclimating seedlings as soon as the first leaves appear. Create a light draft for the seedlings by simply running your hand over the greenery several times a day. Open a window for a few hours daily, and move the trays under direct sunlight for an hour or so each day at first. Adapting seedlings to open ground also involves cooler nights and more moderate watering without warm water. All of this should be done without overdoing it, only with healthy plants and considering their types—early-season cabbages, celery, lettuce, and chard can withstand brief frosts, whereas tomatoes, peppers, eggplants, and cucumbers are very sensitive to low temperatures.
Transplanting as They Grow and Planting Seedlings in Soil
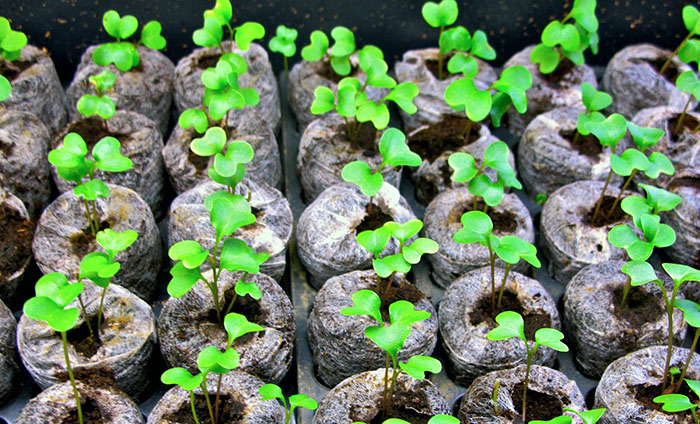
You can’t wait until seedlings outgrow their containers. When the roots hit the container walls, the plants receive a signal to slow down growth. There’s a belief that at this stage, the quantity and quality of the future harvest are being determined. As soon as the seedlings with true leaves strengthen and develop another pair of true leaves, they can be transplanted into containers that are twice as large. If your seedlings are growing in peat pots, transplant them as soon as you see roots protruding from the mesh.
Part of the acclimatization process involves transplanting seedlings into a mix of garden soil and starter mix in a 50/50 ratio. For 5-7 days after transplanting, avoid fertilizing and do not subject the seedlings to additional stress.
The timing and method of planting seedlings into the soil depend entirely on the type of plant. The general recommendations are as follows:
- Overgrown and leggy seedlings produce a lower yield.
- The soil in the garden should be moistened the day before transplanting.
- Choose a windless day, preferably a cloudy one, for transplanting.
- Water the seedlings after transplanting.
- Mulch the seedlings.
